How to Create Cloud Object Storage in IBM Cloud
Hello Friends in this article i am gone to share How to Create Cloud Object Storage in IBM Cloud with you..
Also visit: How to Create Language Translator service in IBM Cloud
How to Create Cloud Object Storage in IBM Cloud
Create an IBM Cloud Object storage
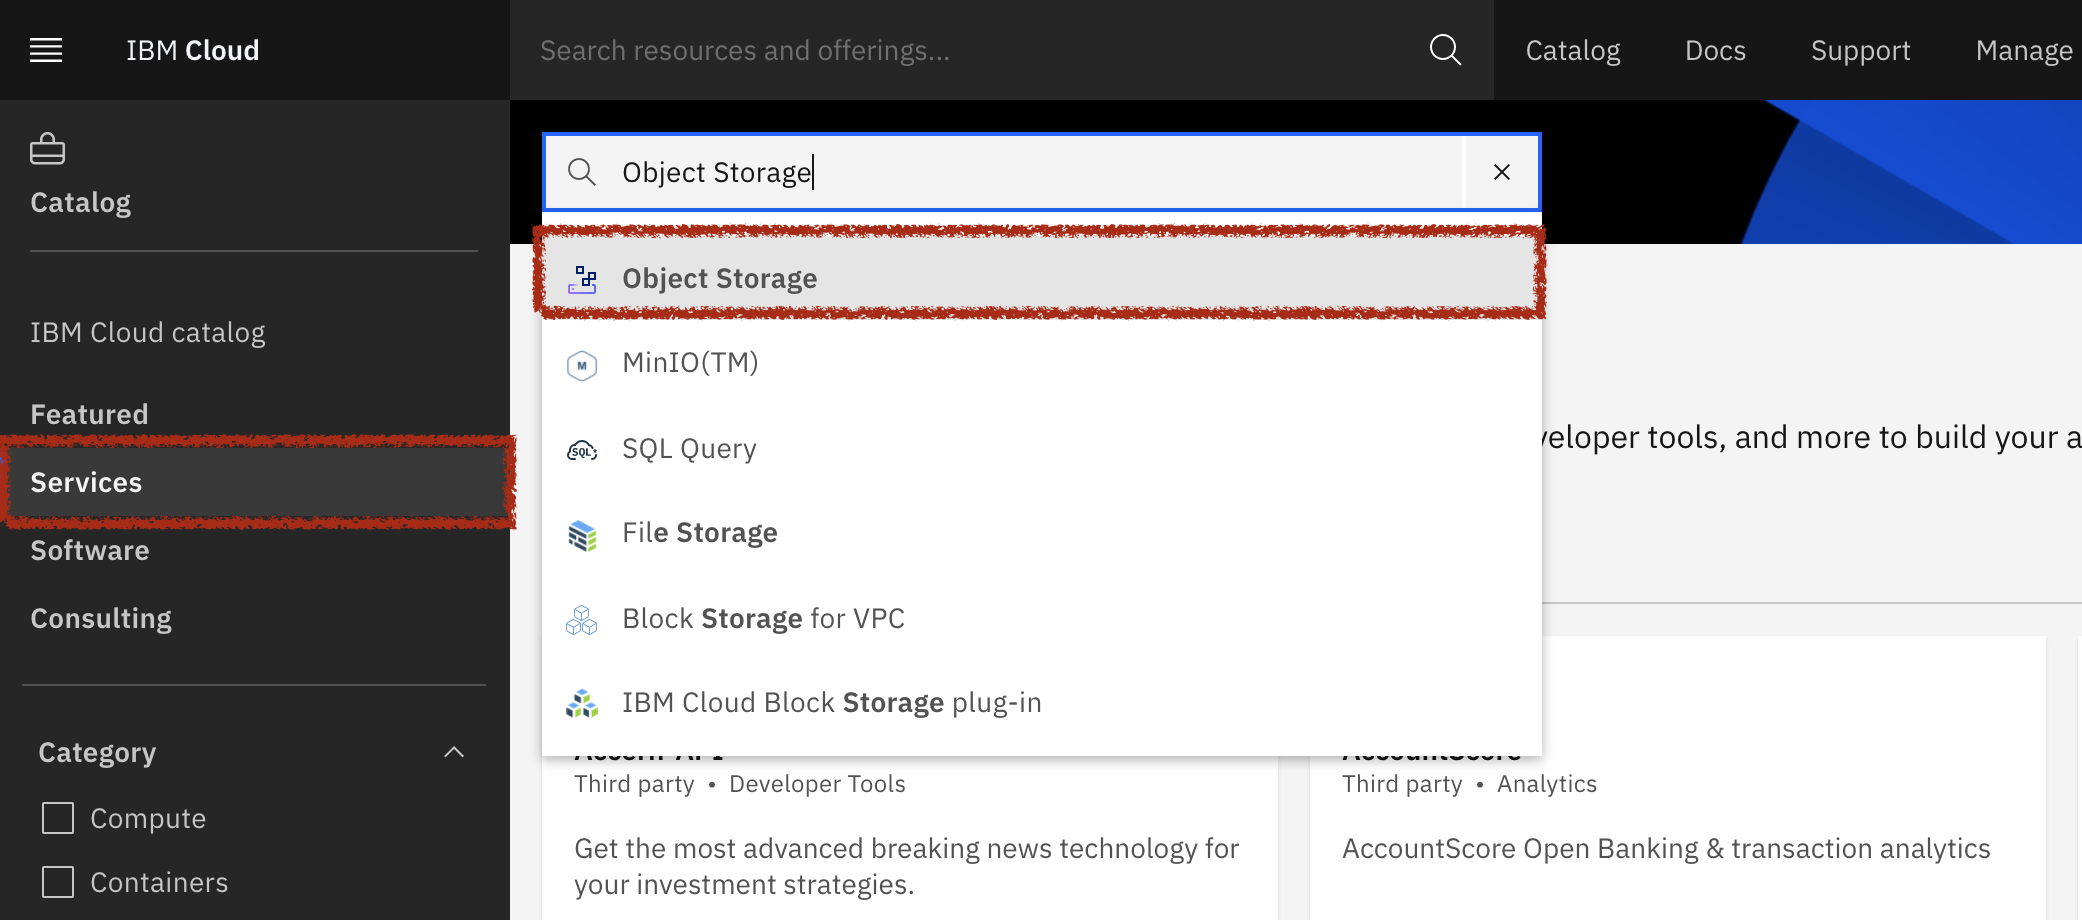
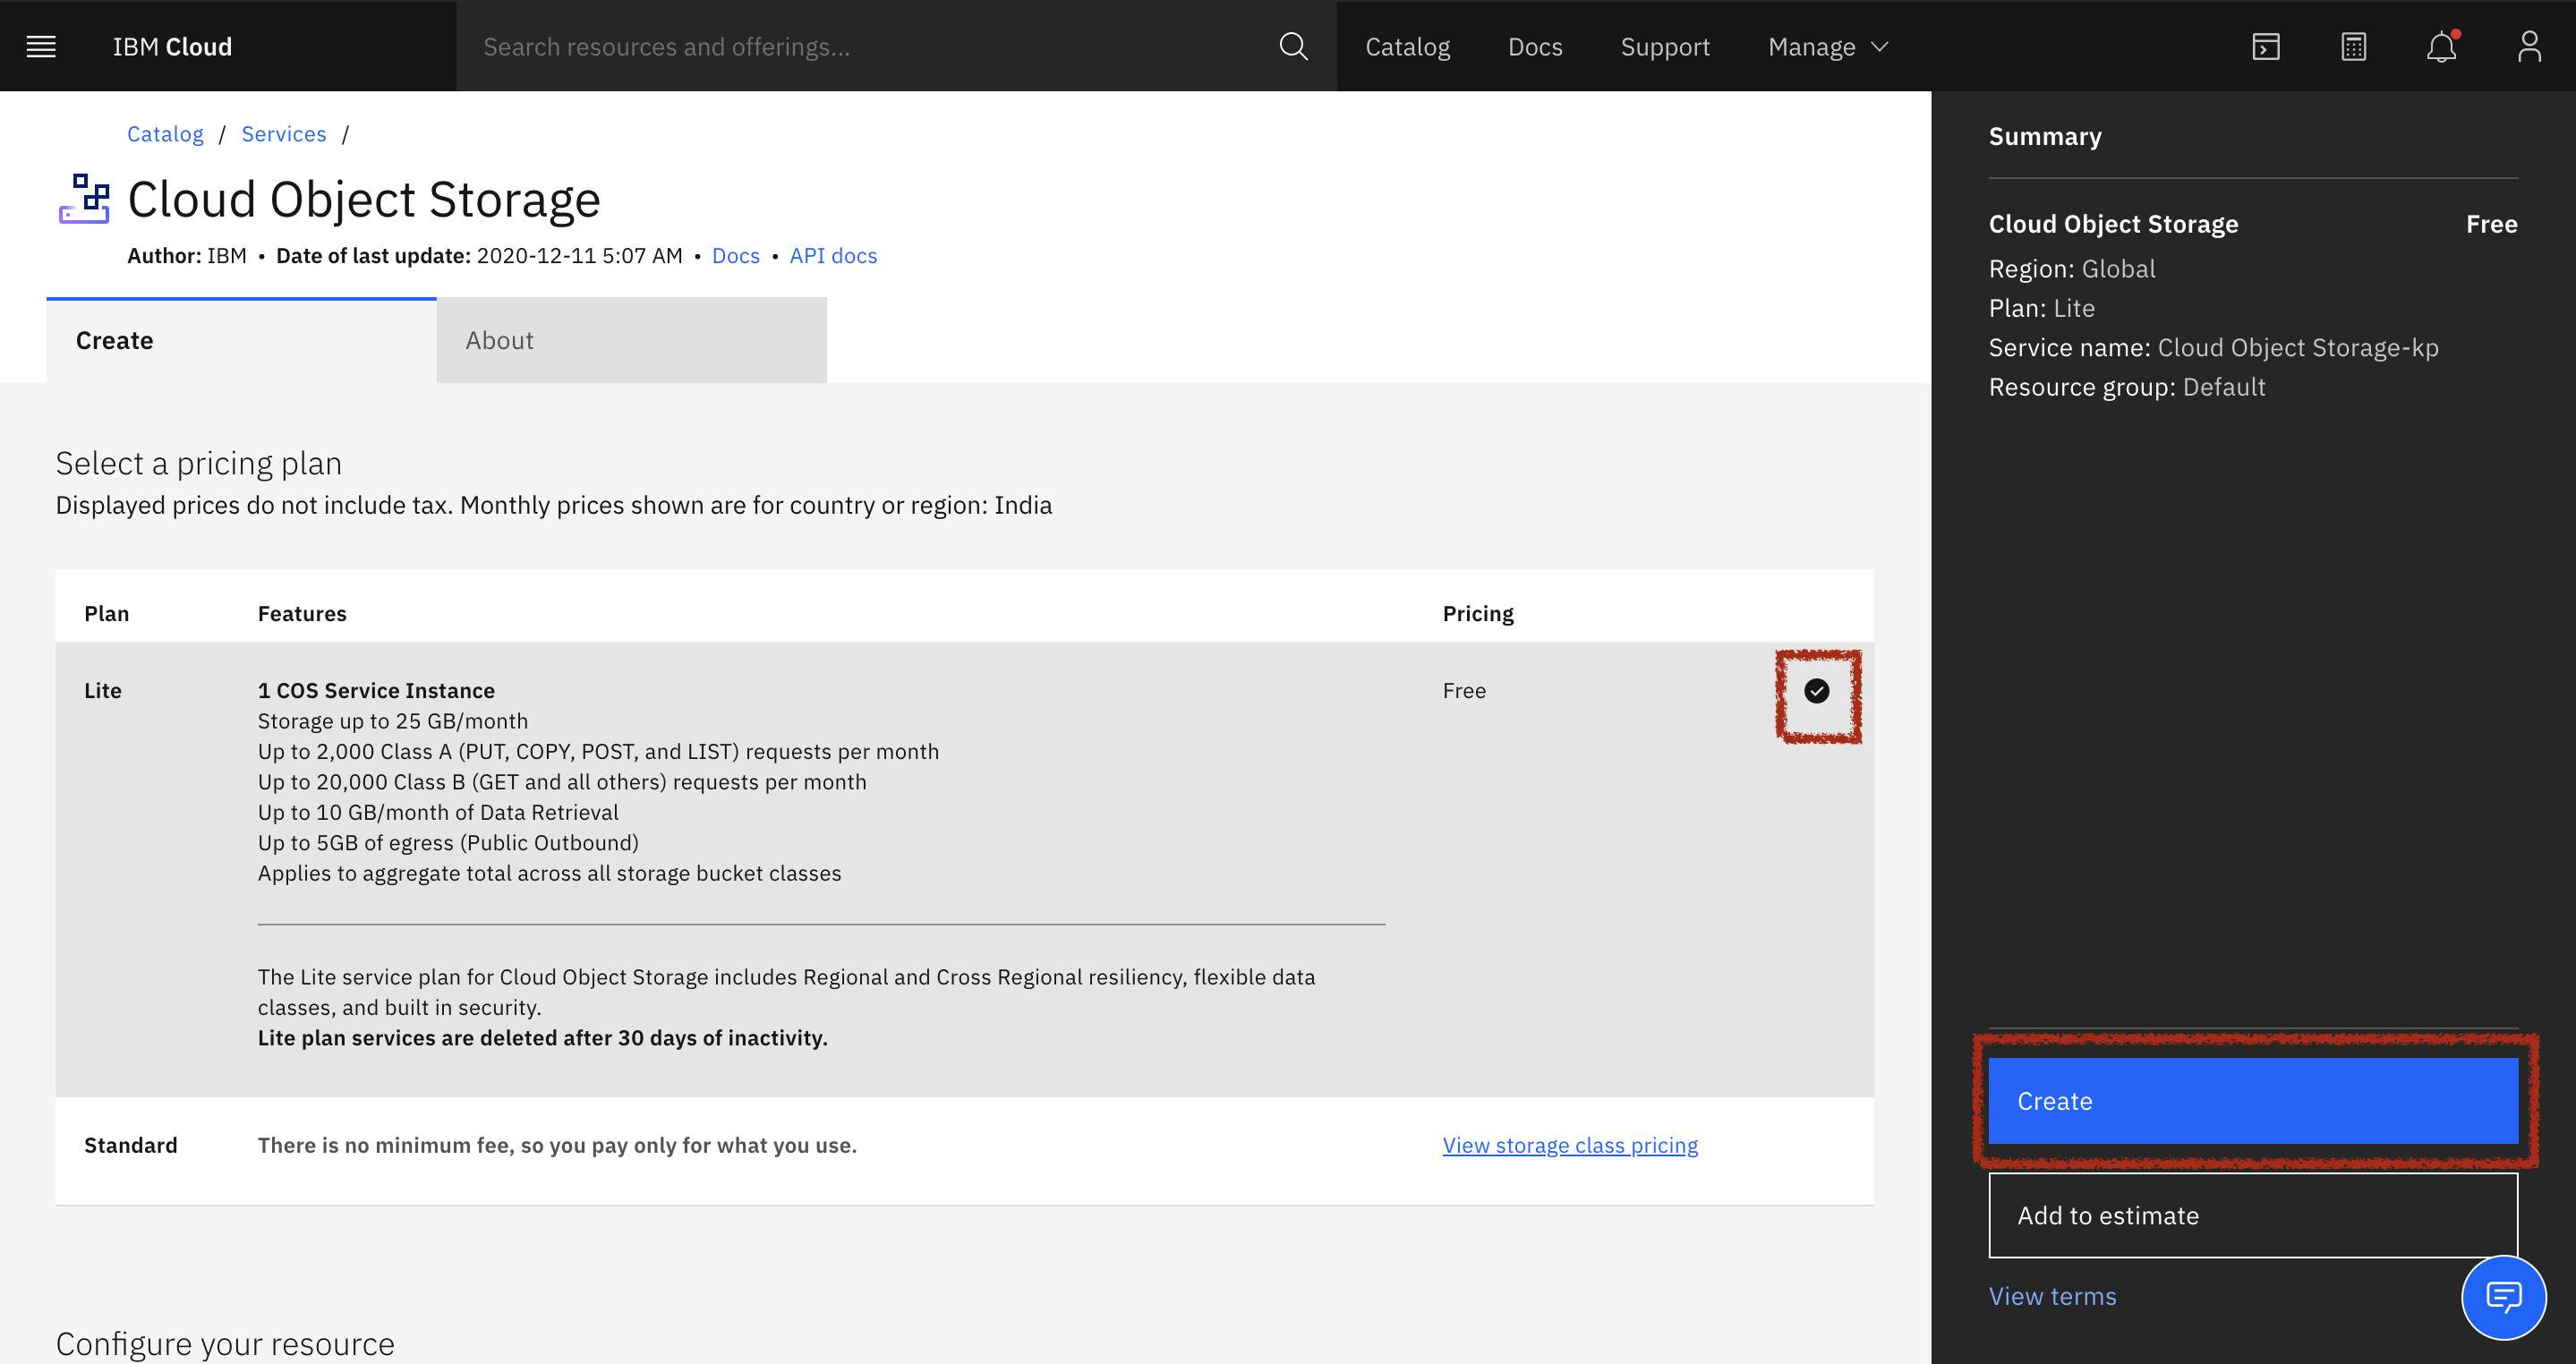
Step 1) Create an instance of IBM Cloud Object Storage:
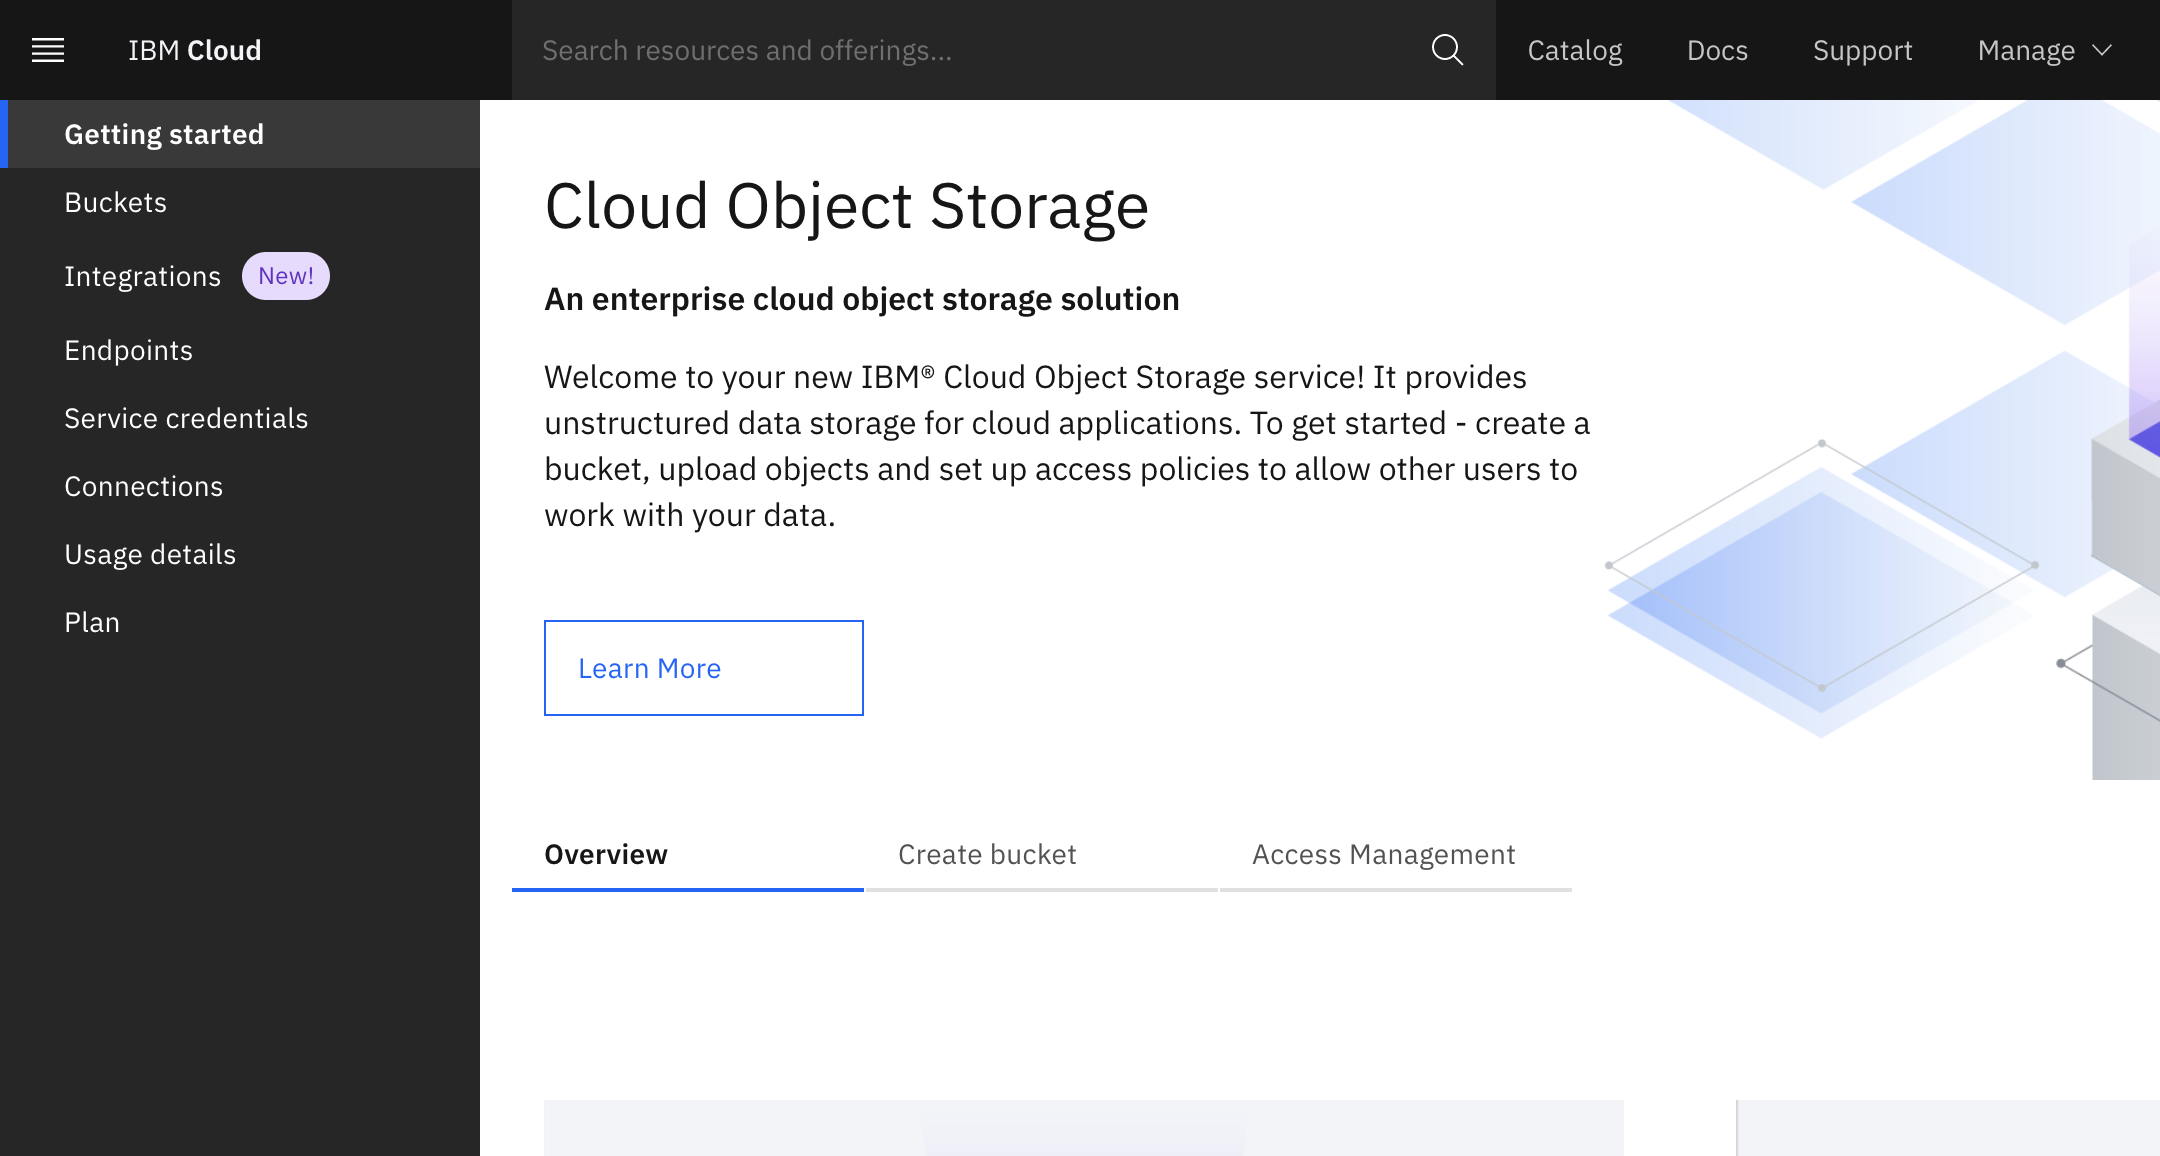
4) Once the Cloud Object Storage (COS) instance is created, you will automatically be directed to the Cloud Object Storage page. Here you can create a bucket and invite users for your Cloud Object Storage instance.
Step 2) Create a Bucket to store your data:
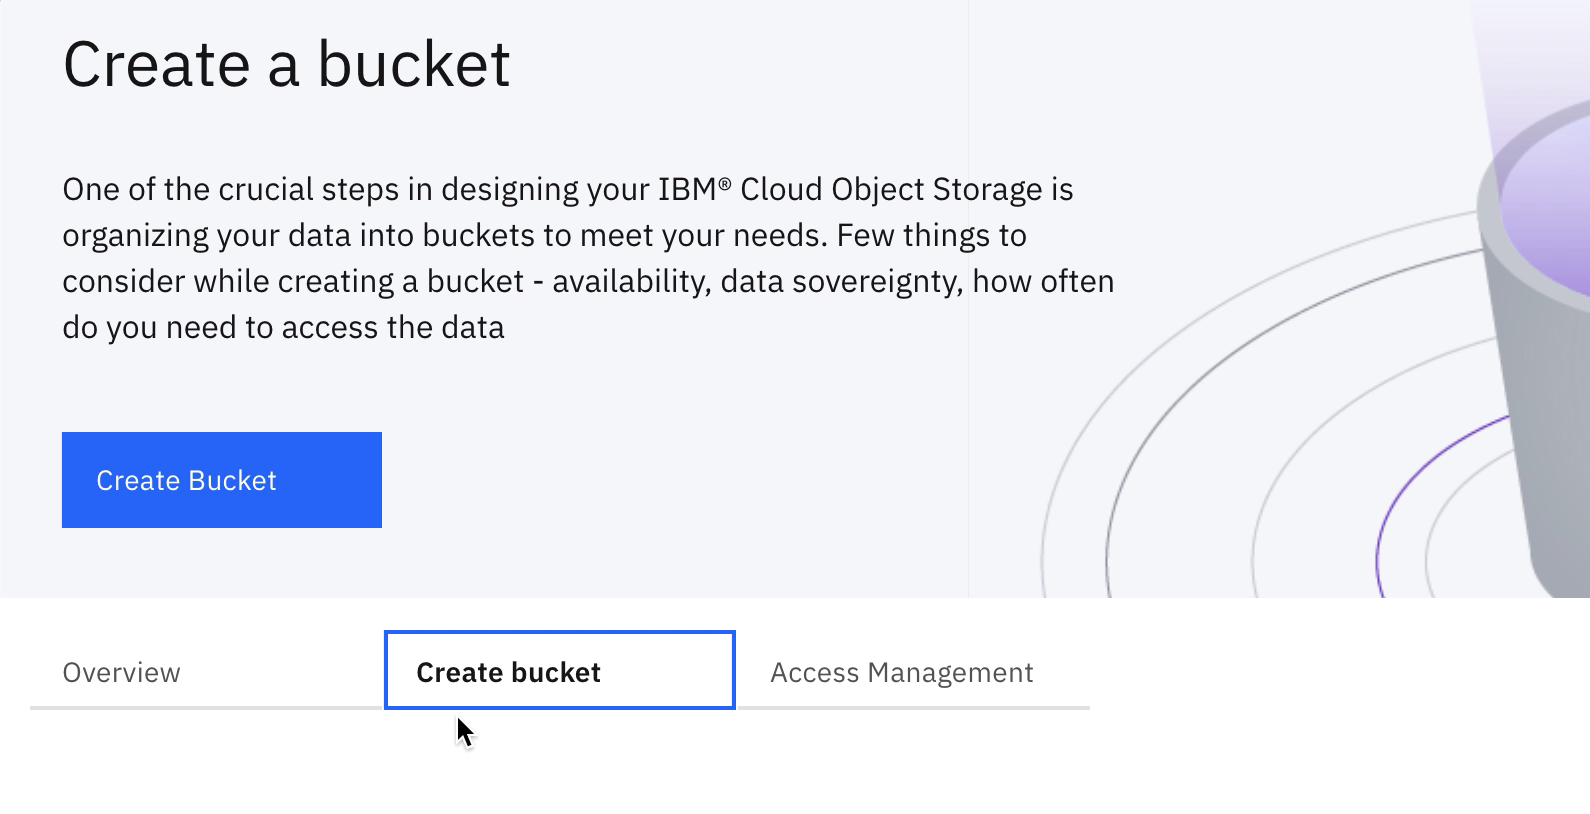
1) On your new Object Storage instance page, click Create Bucket.
 </div >
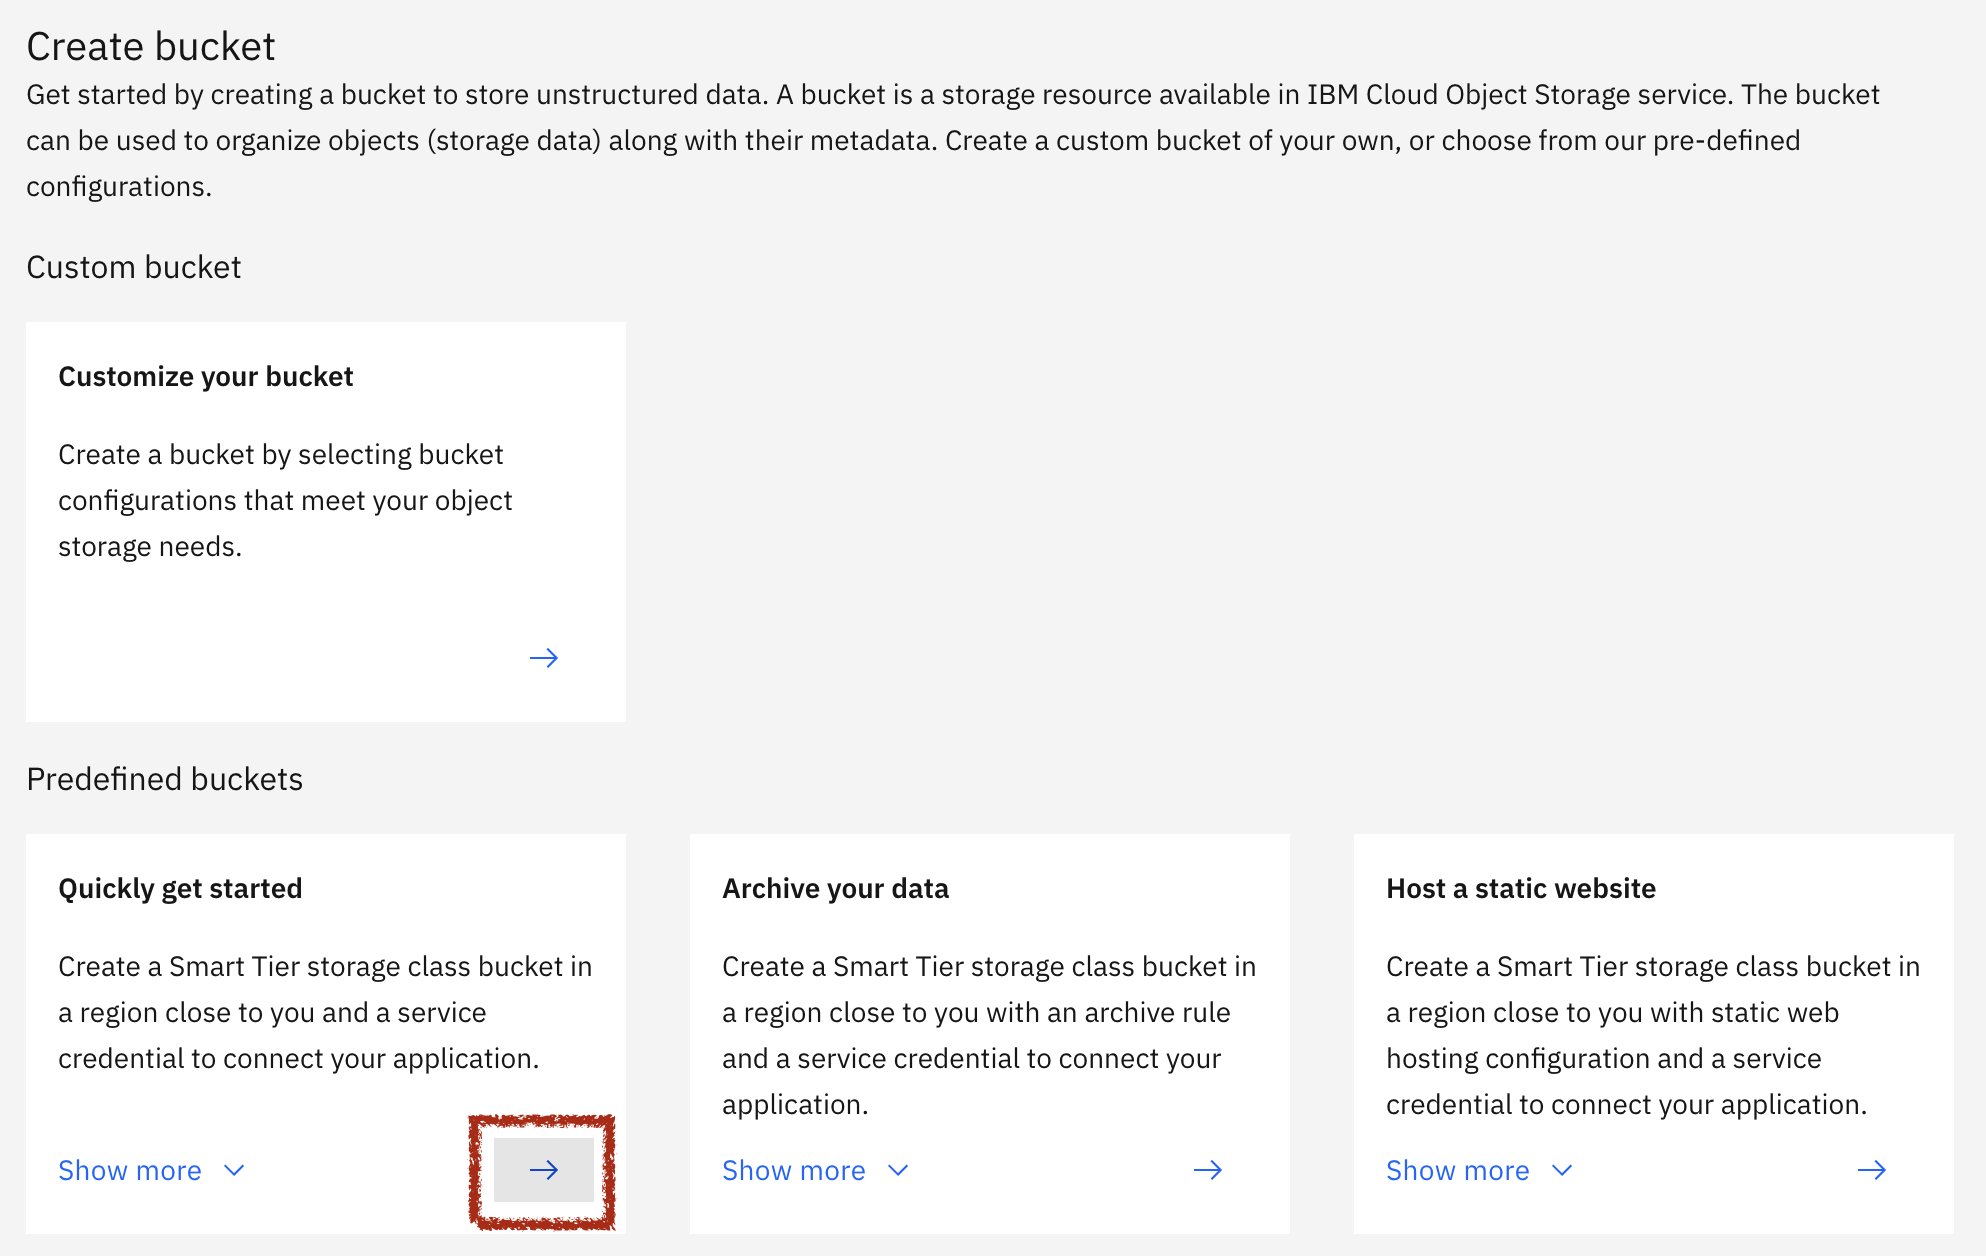
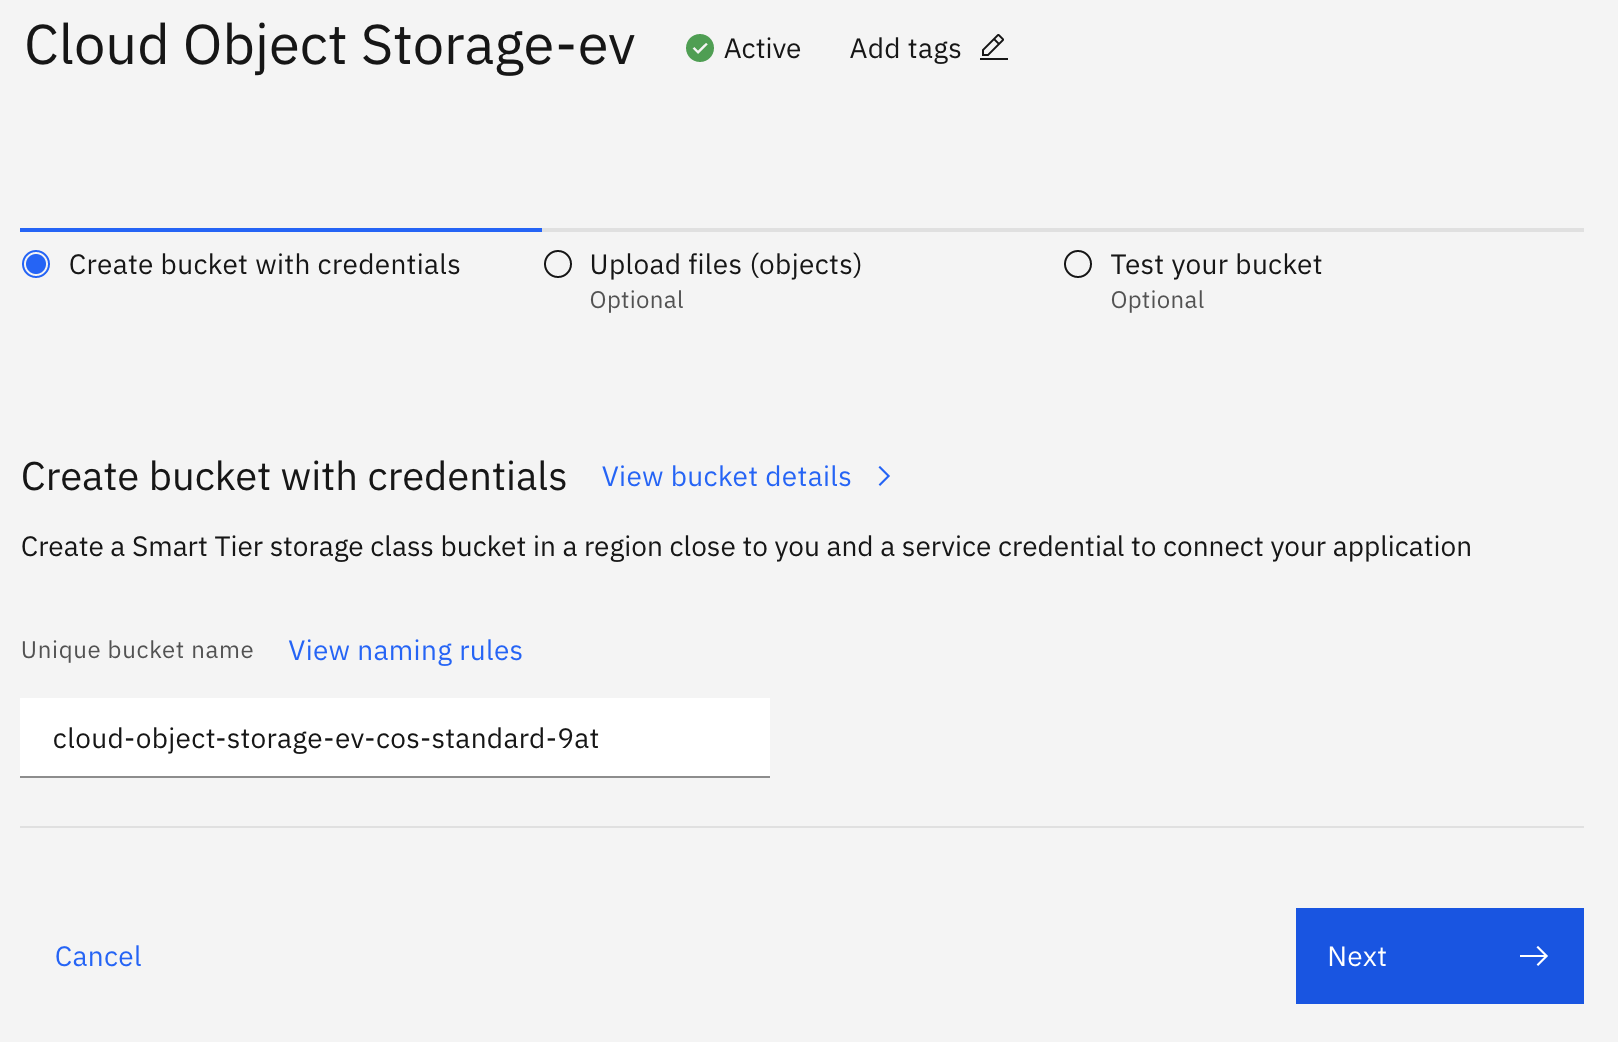
3) Use the pre-assigned name for your bucket or enter your name and review the pre-configured settings and service credentials and click Next.
Step 3) Add Objects to your Bucket:
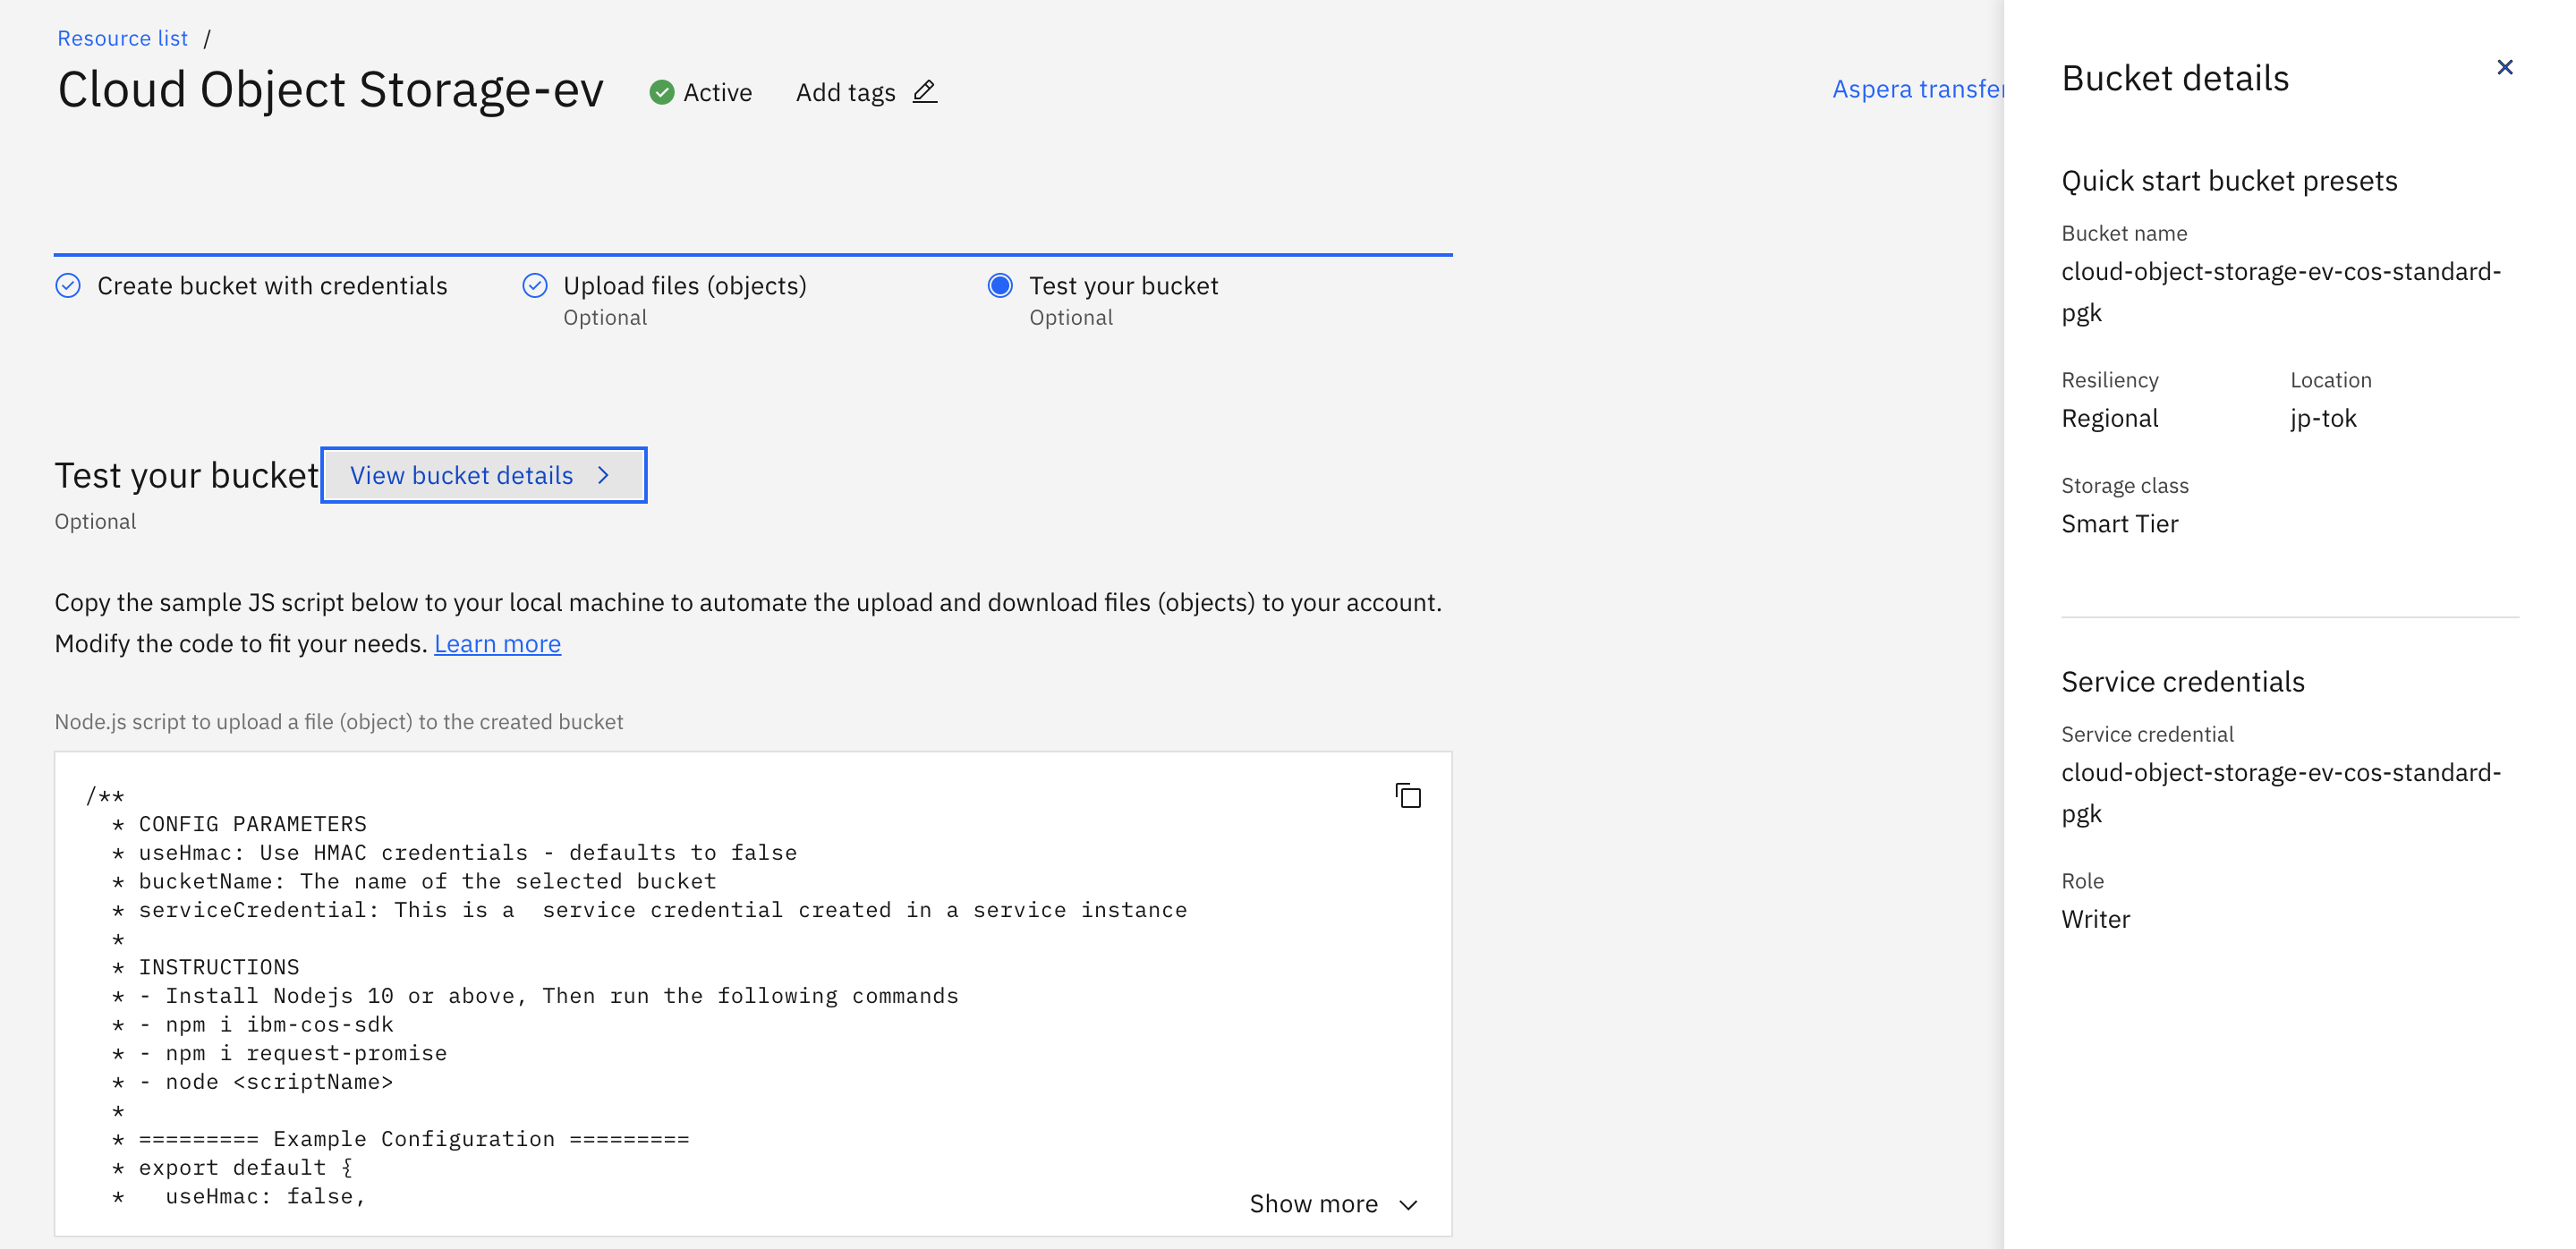
1) On the Bucket page, click on View Details and the details for the bucket are displayed.
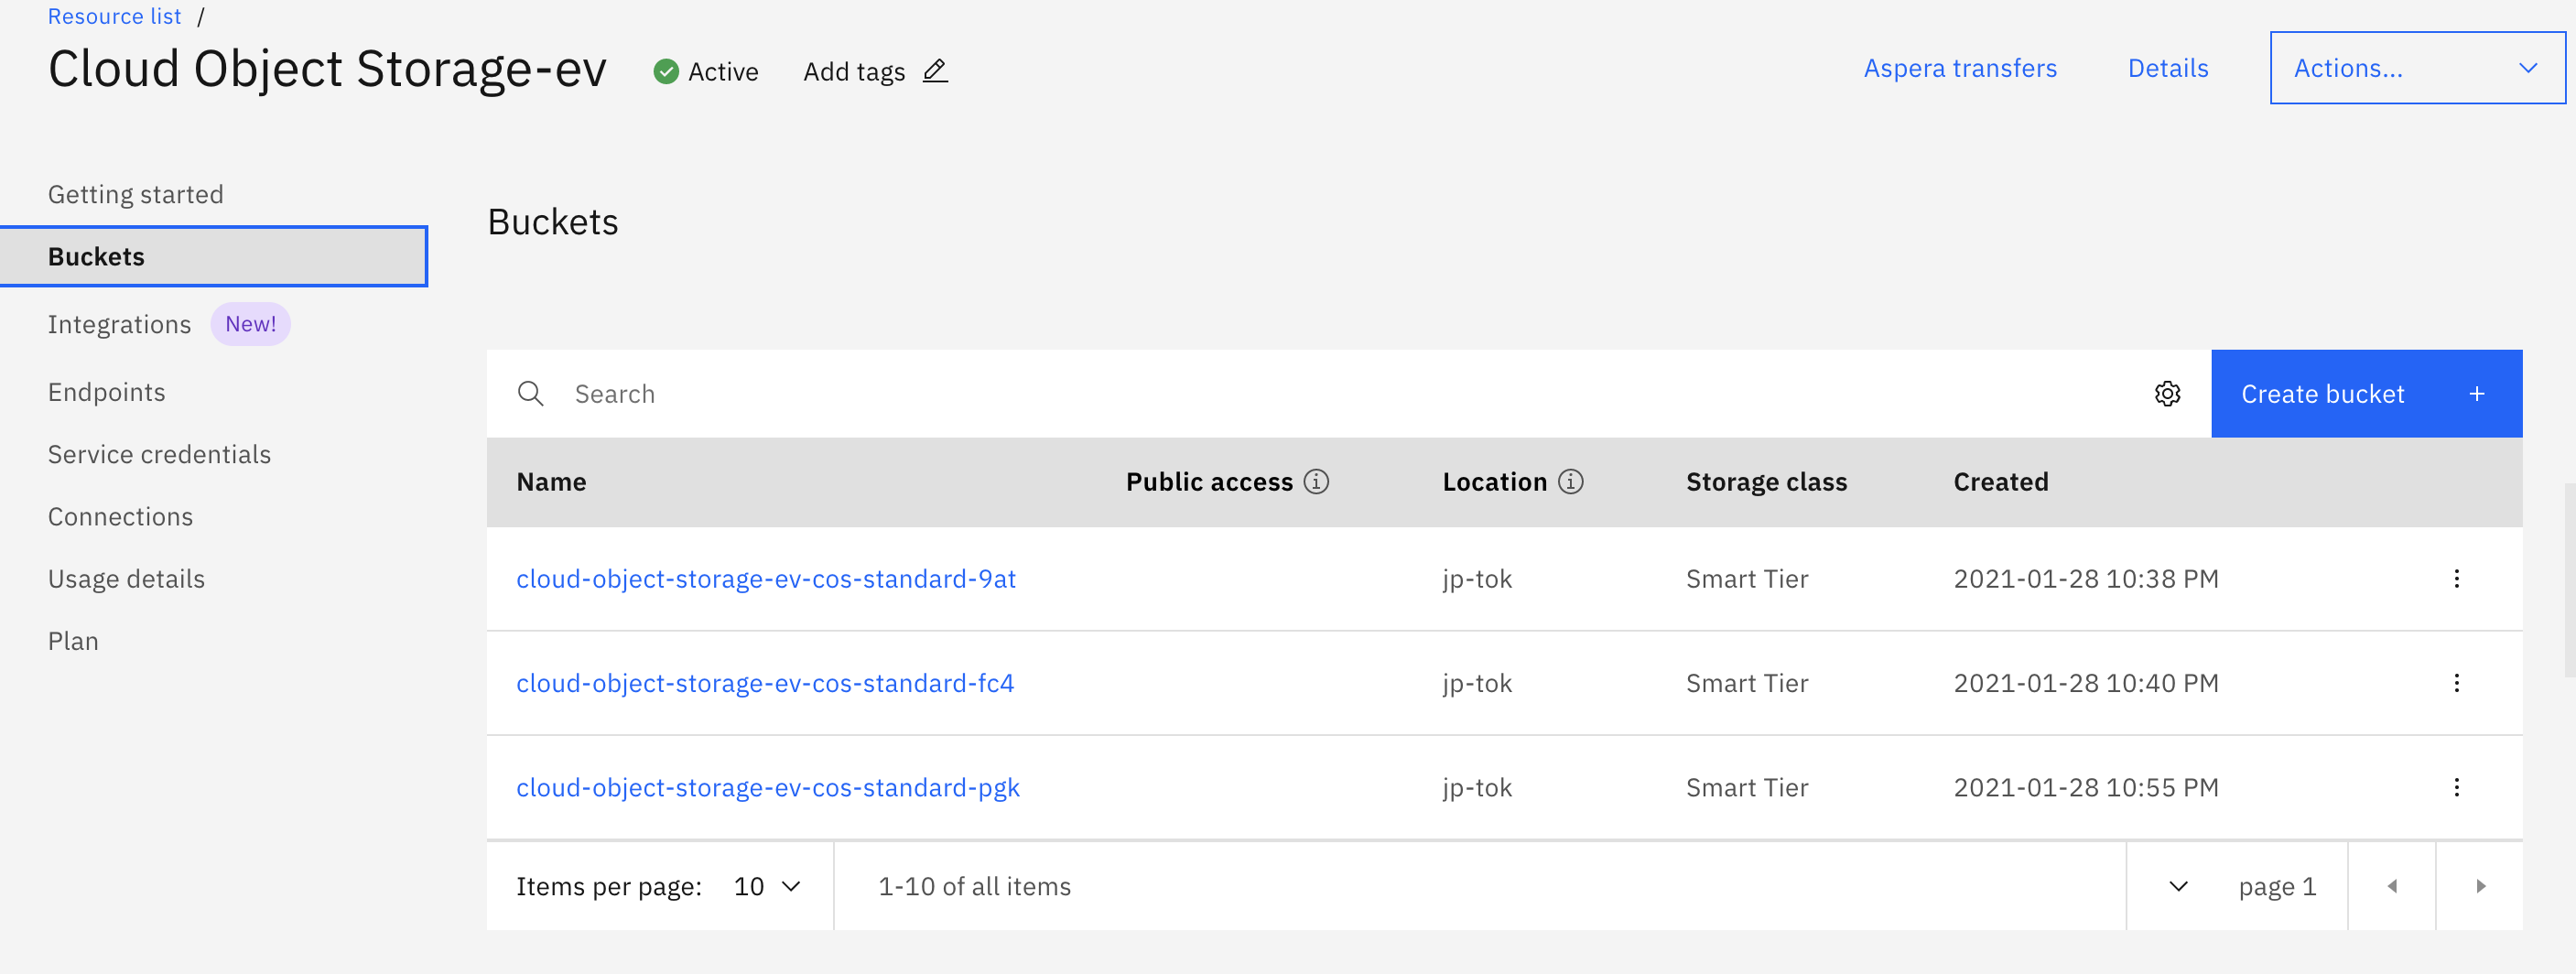
2) In the object storage main page you can now click on Buckets and see all the buckets.
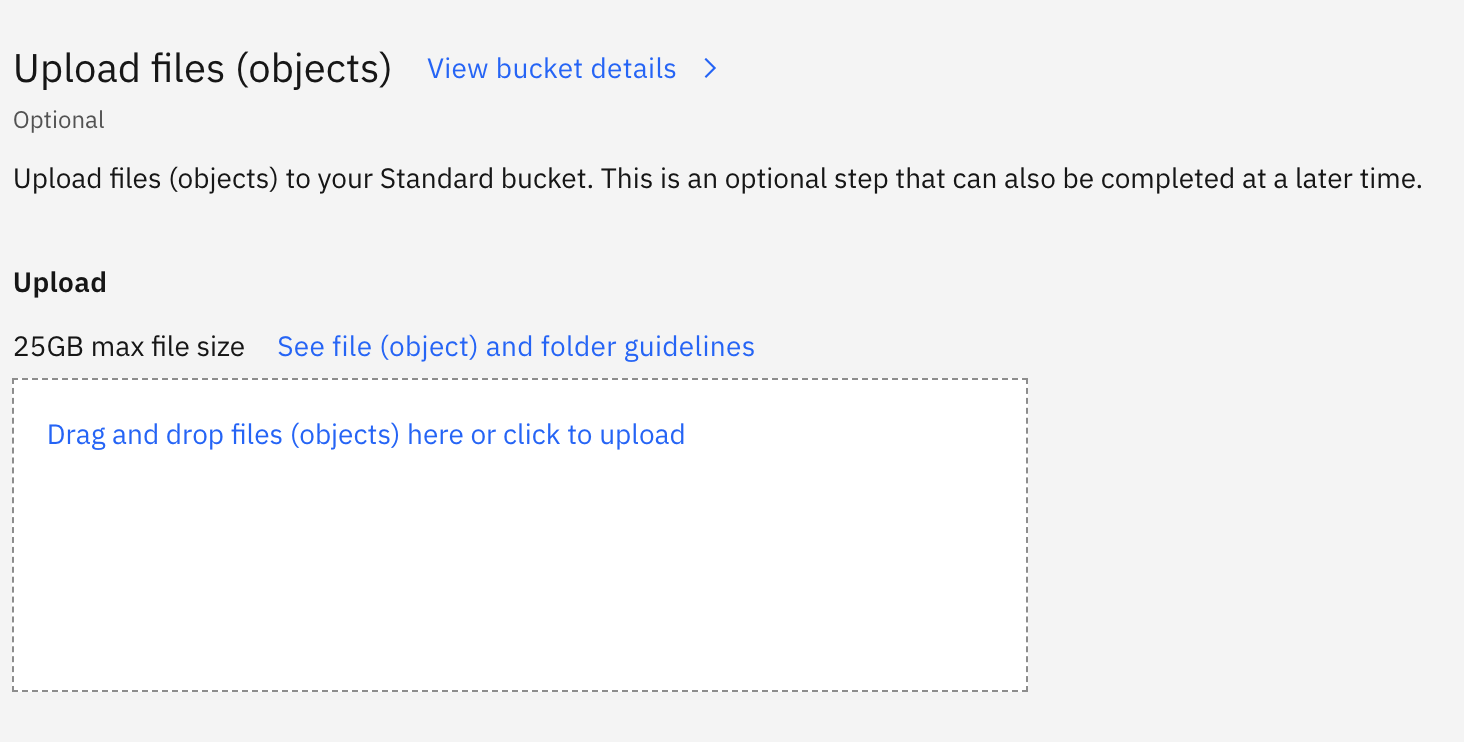
4)The Objects page appears where you can click Upload and select Files or Folders from the dropdown. You can also drag and drop files or folders into the space.
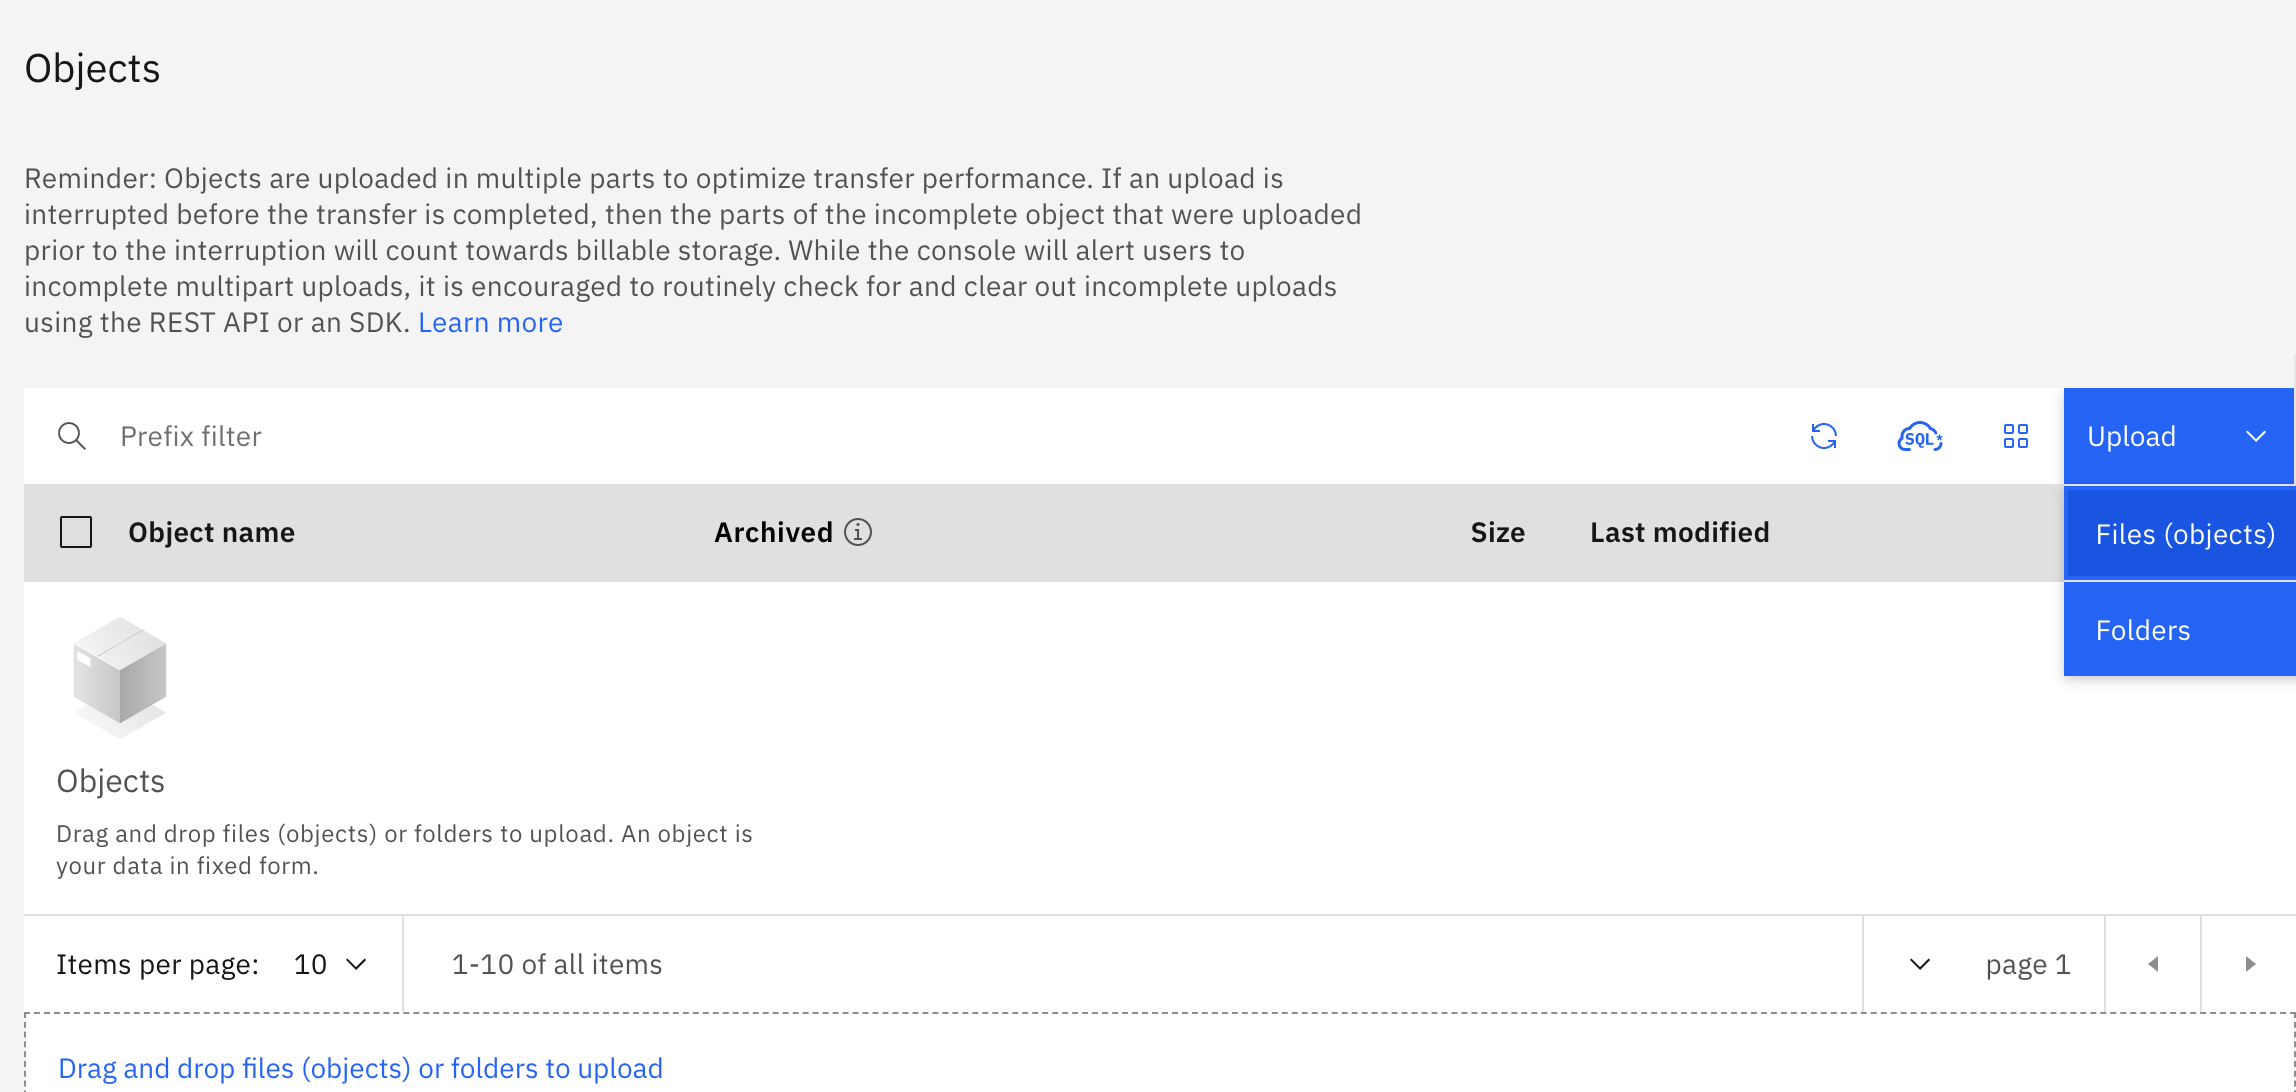
5) Upload the Index.html file from your computer to your COS bucket.
Step 4) Share Objects in your Bucket:
If you need to share objects in your buckets with other users, you can setup Access Policies. You can set access policies for specific users and groups, or you can choose to make certain buckets public so that anyone can access them (e.g. if you want to host static files on your website).
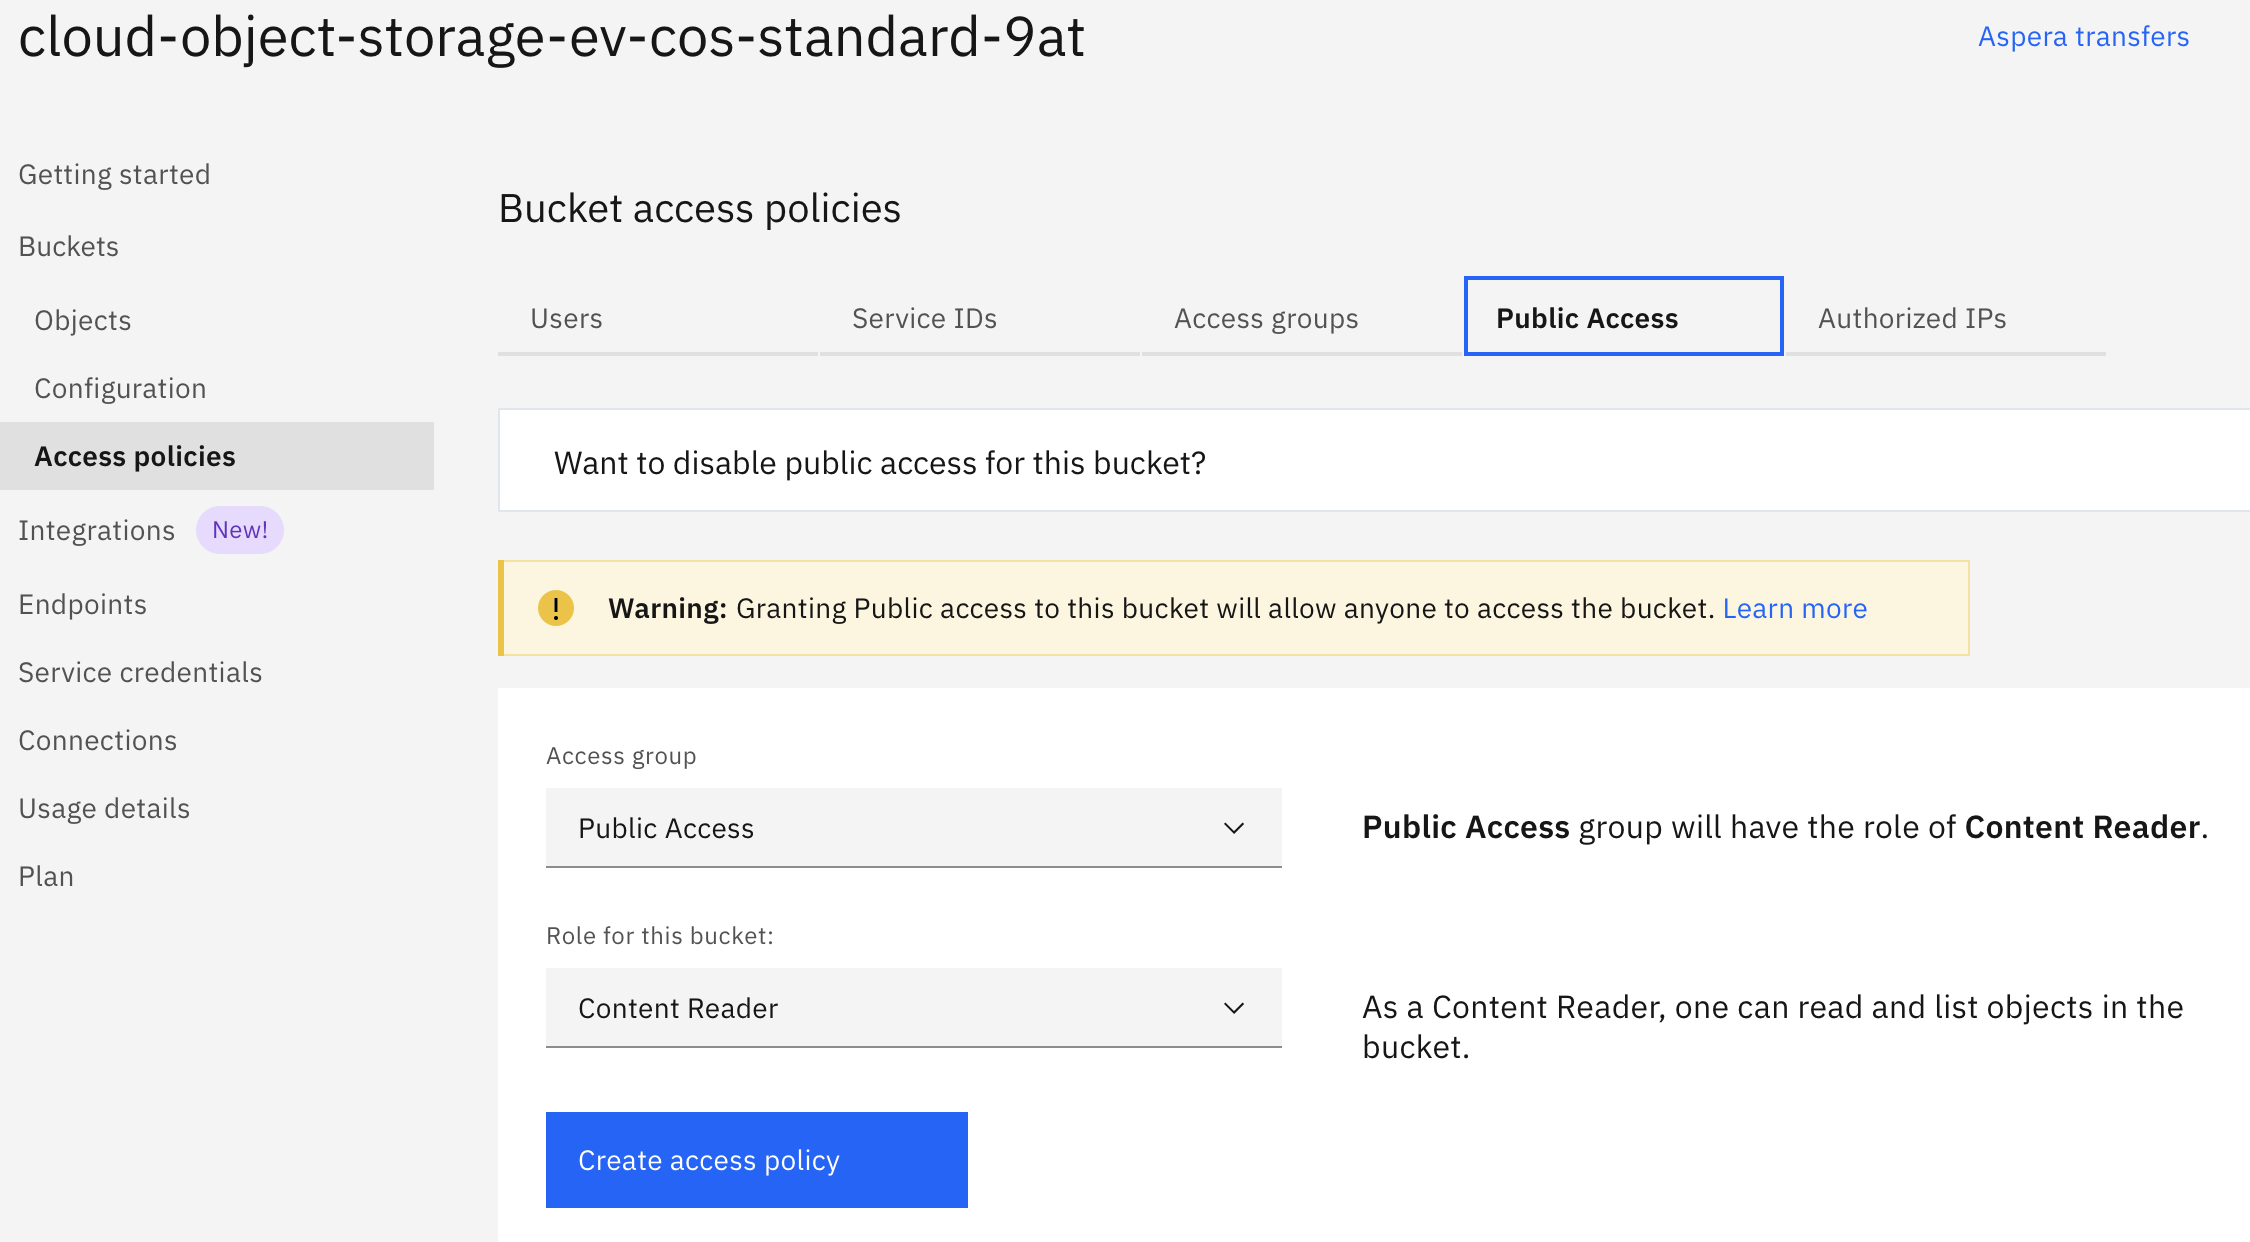
1) In the navigation pane under buckets, click Access Policies. On the Bucket access policies page, click Need to Add users? to add user access for your bucket.

2) You can select users if they’ve already been added and select roles for this bucket. But for this exercise we need to provide public access to the file we added to the bucket. Click Public Access and notice Public Access appears in the Access group, and then click Create Access policy.
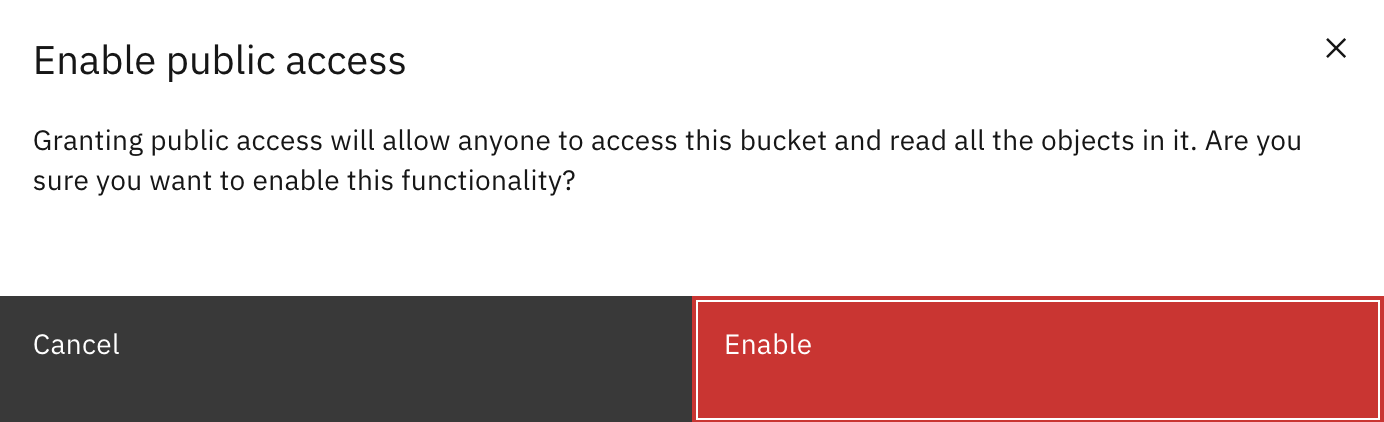
3) When you click on Public Access , a popup window appears. Click Enable to allow public access
4) Next, a popup window appears that confirms you have provided public access to the Html file.
5) Next, click Objects in the navigation pane to return to the screen where you can find the URL for the Html file that you loaded to your bucket.
6)On the Objects page, click the ellipses (“…”) at the end of the Html file you added to your bucket, and then select Object Details from th list. A detials window pops up. Click the Copy to clipboard icon to get the Object Public URL for the Html file to share this file with others.
6) You can also test the public URL that you copied by opening it in your browser.
Very nice article…