What is XAMPP & installation process of XAMPP
In this blog post, I will share information on XAMPP and guide you through the installation process on your computer.
Get started with web development using XAMPP, a tool for creating a local web server environment on your computer. Ideal for beginners and experienced developers, follow a step-by-step guide for installing XAMPP.
What is XAMPP & installation process of XAMPP
What is XAMPP?
XAMPP is a free and open-source cross-platform web server solution stack package developed by Apache Friends. The name XAMPP is an acronym, with each letter representing one of the components it bundles:
X: Stands for cross-platform compatibility.
A: Apache HTTP Server, the web server software.
M: MariaDB, a popular open-source database server.
P: PHP, a server-side scripting language used for web development.
P: Perl, a general-purpose programming language used for web development.
Follow a step-by-step guide for installing XAMPP
Step 1: Download XAMPP
The first step in installing XAMPP is to download the installation package from the official Apache Friends website: https://www.apachefriends.org/index.html.
Ensure that you download the correct version for your operating system (Windows, macOS, or Linux).
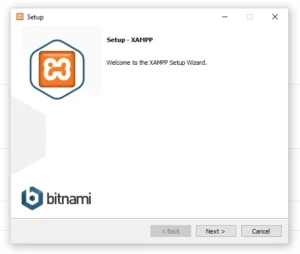
Step 2: Install XAMPP
Once the download is complete, locate the downloaded file and double-click to begin the installation process. Follow the on-screen instructions, and you’ll be presented with various options during the installation. Here are some key points to consider:
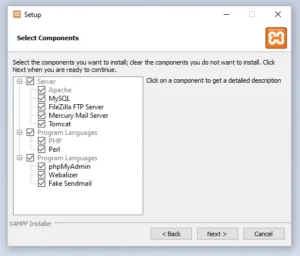
Select Components: Choose which components you want to install. By default, all components are selected, but you can customize it based on your needs. For most web development projects, the default selection is sufficient.
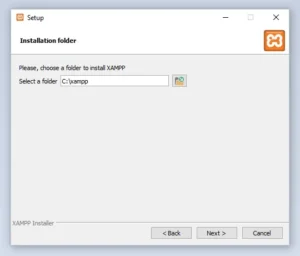
Choose Installation Directory: Select the directory where you want to install XAMPP. The default directory is usually fine, but you can change it if needed.
Start Menu Folder: Choose whether you want to create a Start Menu folder for XAMPP shortcuts. This is optional and depends on your preference.
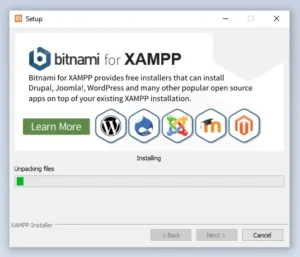
Bitnami for XAMPP: Optionally, you can install Bitnami for XAMPP, which provides easy-to-install web applications such as WordPress, Joomla, Drupal, and more.
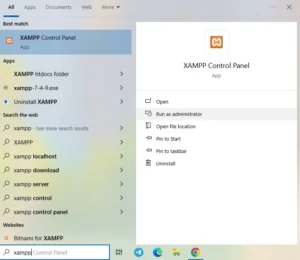
Step 3: Launch XAMPP Control Panel
Once the installation is complete, launch the XAMPP Control Panel from the Start Menu (Windows) or Applications folder (macOS). The Control Panel provides an interface to start and stop the Apache web server, MySQL database server, and other components included in XAMPP.
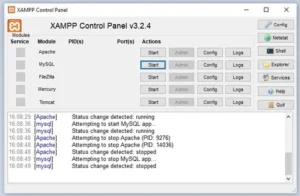
Step 4: Start Apache and MySQL
In the XAMPP Control Panel, start the Apache and MySQL services by clicking on the “Start” buttons next to their respective names. Once started, the status indicator next to each service should turn green, indicating that they are running successfully.
Step 5: Verify Installation
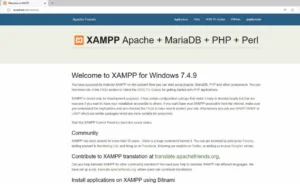
To verify that XAMPP is installed correctly, open your web browser and navigate to http://localhost/.
If XAMPP is running properly, you should see the XAMPP dashboard, which provides an overview of the installed components and their status.
Conclusion
Congratulations! You’ve successfully installed XAMPP on your computer, and you’re now ready to start developing web applications locally. XAMPP provides a convenient way to create a local development environment without the need for a separate web hosting service. Whether you’re building a simple website or a complex web application, XAMPP has everything you need to get started. Happy coding!