Create a starter Node js application with a Cloudant DB service
Hello Friends in this article i am gone to share Create a starter Node js application with a Cloudant DB service with you..
Also visit: Deploy Application Using Command line interface IBM Cloud
Create a starter Node js application with a Cloudant DB Service IBM Cloud
Objectives
- Create a starter Node.js application with a Cloudant DB service from a Node.js Cloudant Sample Git repository.
- Review the service environment variables.
Step 1: Creating a Cloudant DB Instance
- Log in to your IBM Cloud account.
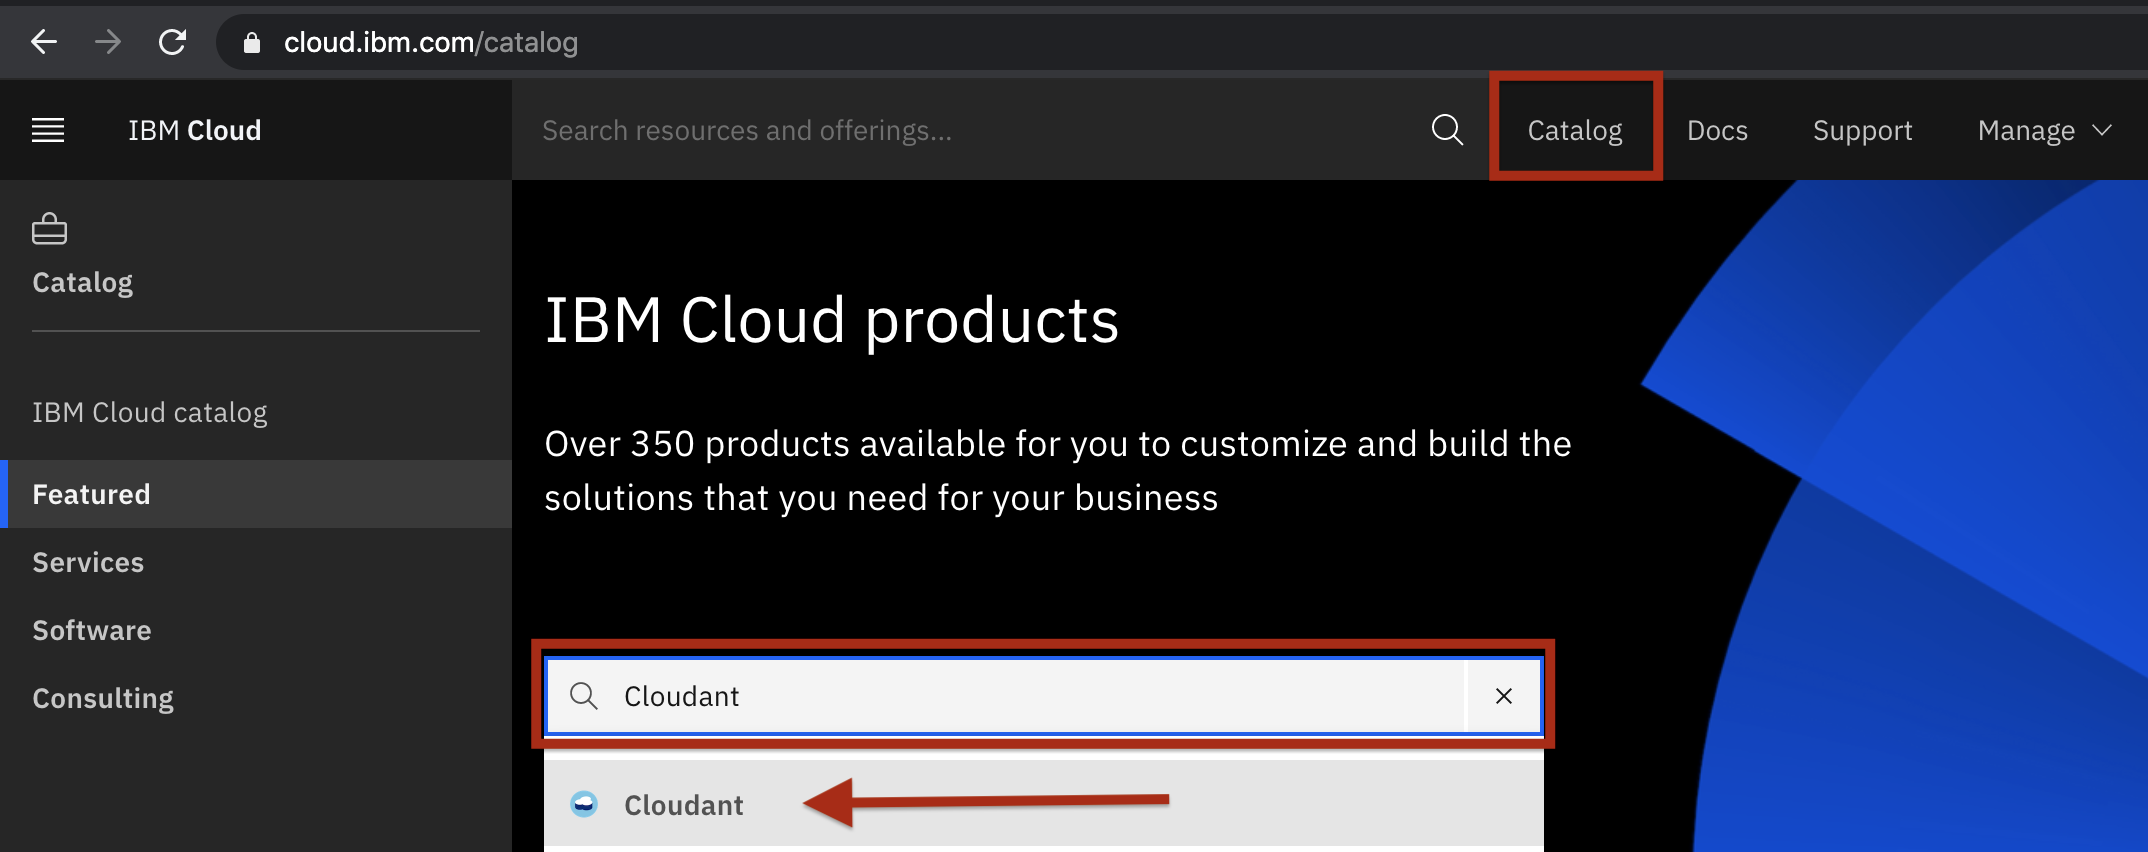
- Click on Catalog tab & Search for Cloudant in the box provided and choose Cloudant as shown in the image below.
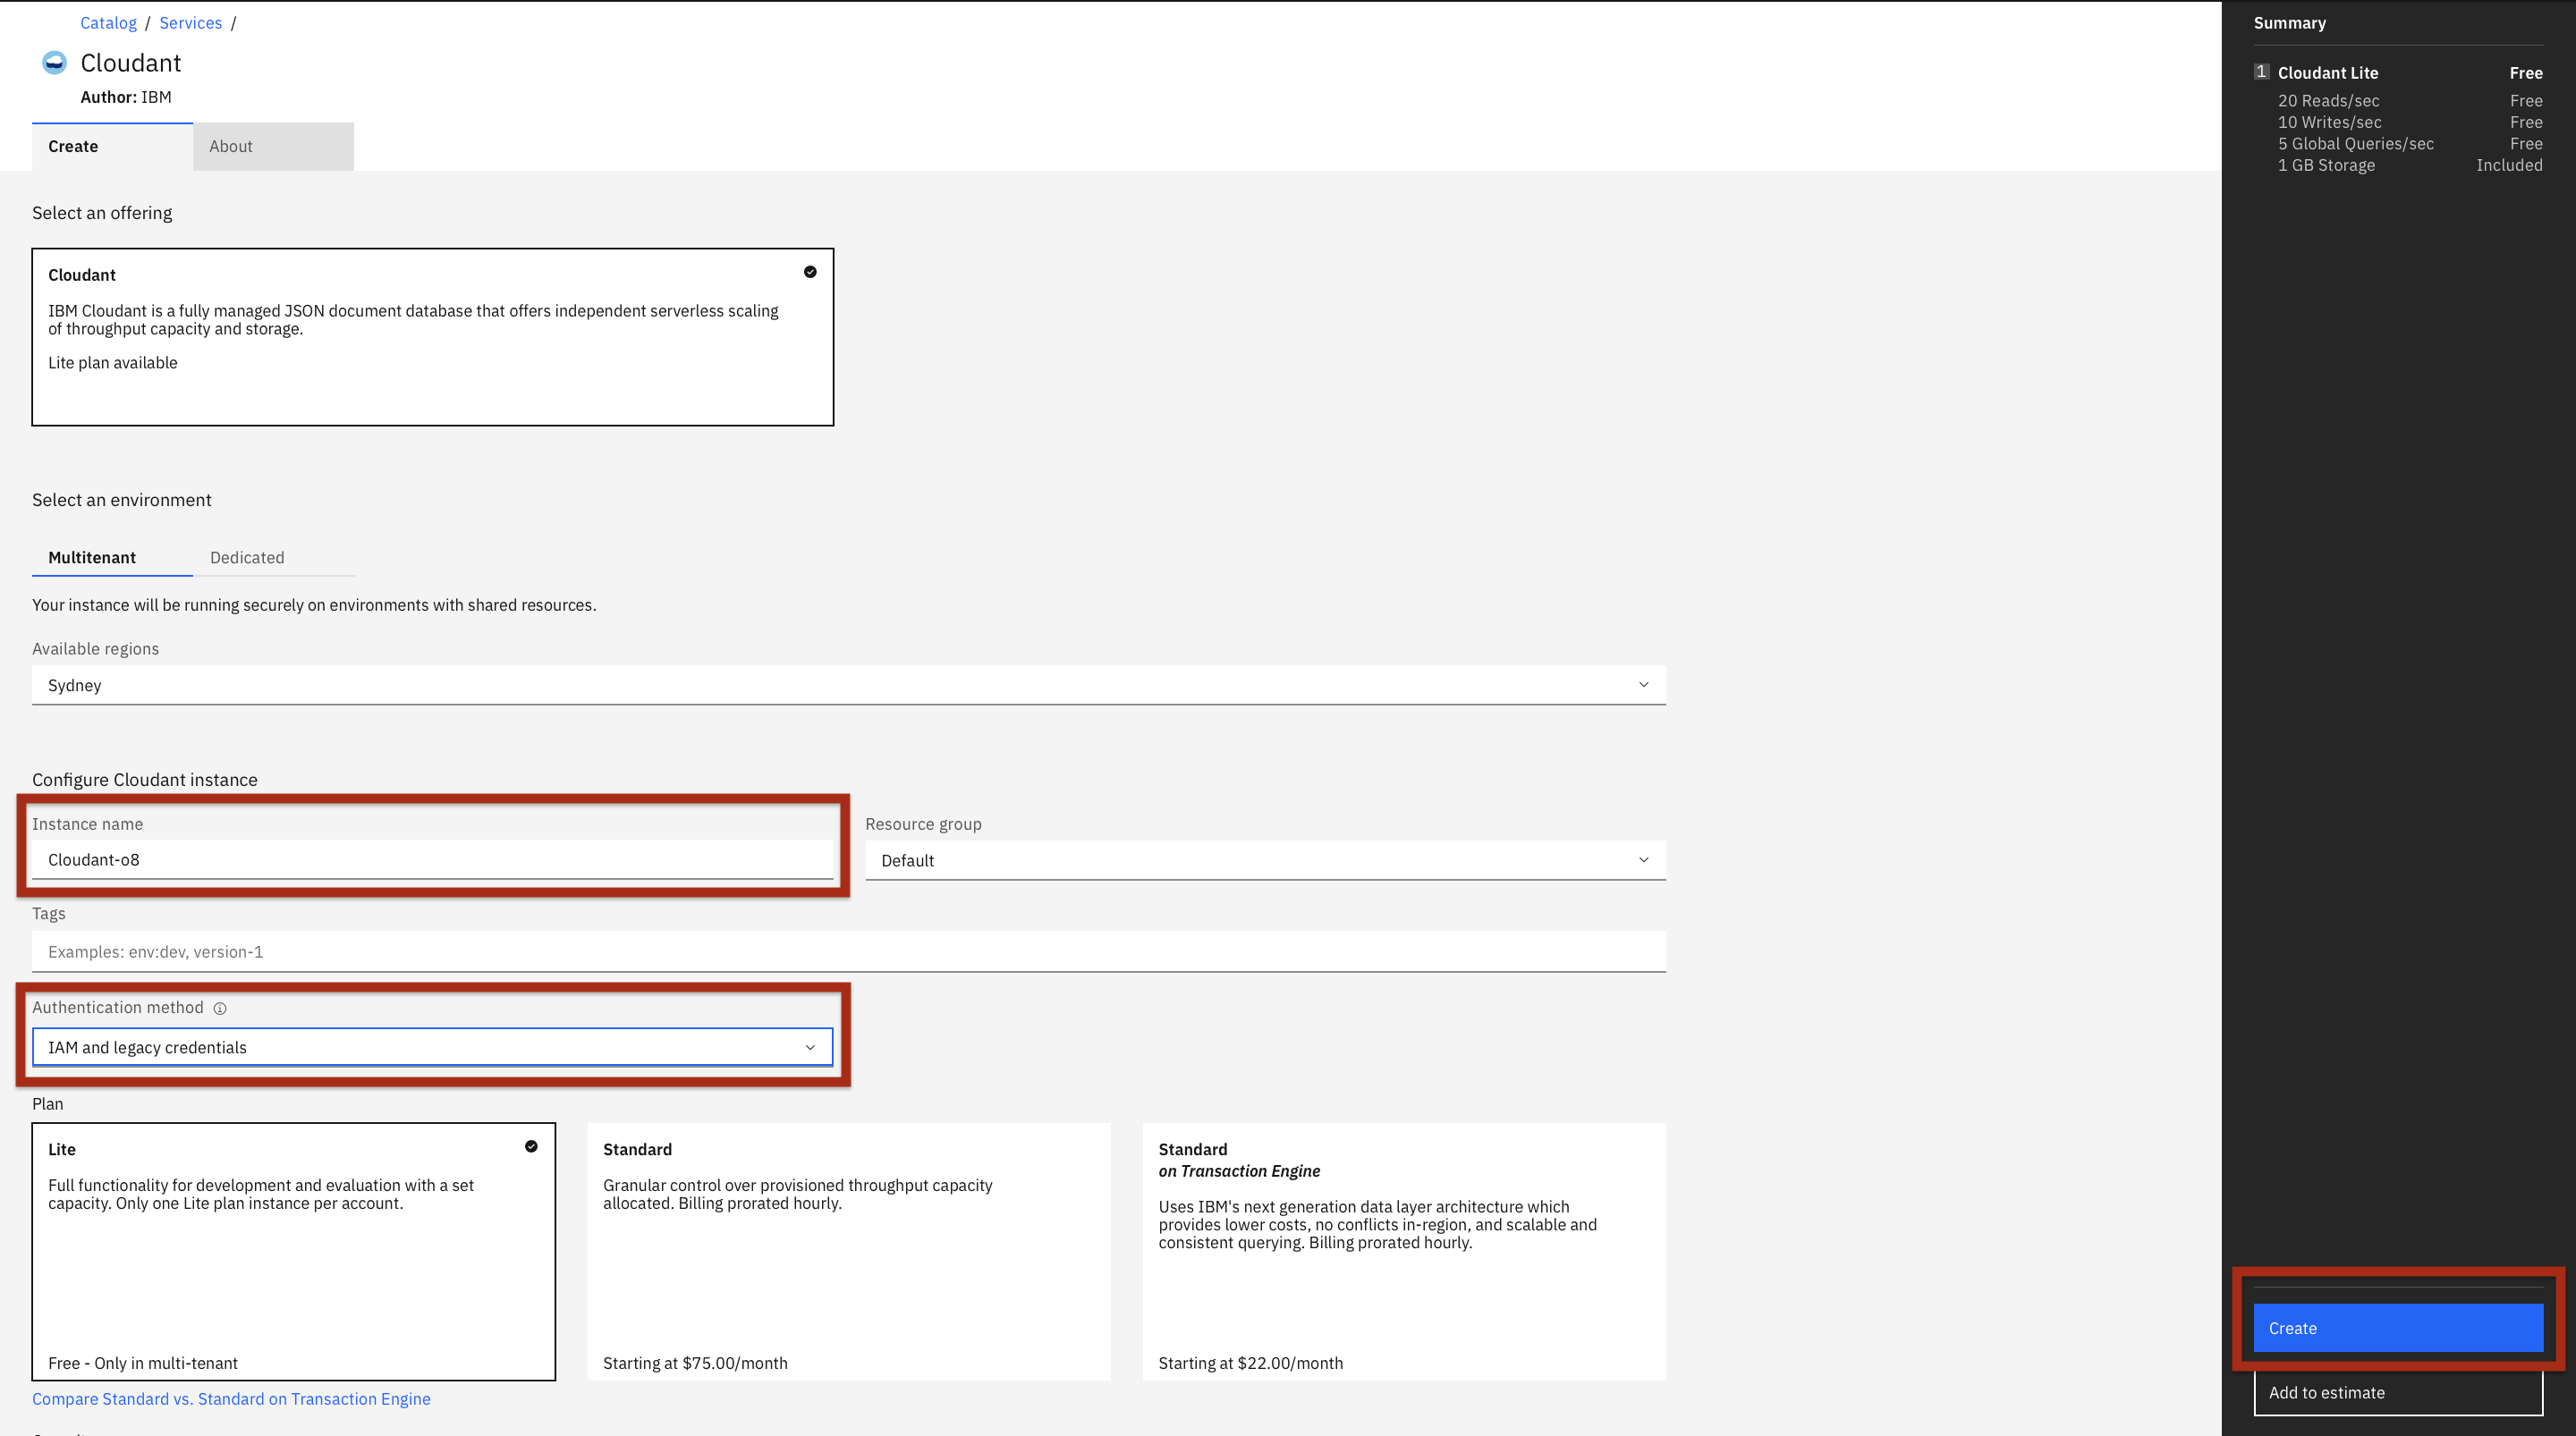
- A default name for your service instance is generated.
Step 2: Creating a Node.js application with a Cloudant DB service
- Go to IBM Cloud Dashboard page.
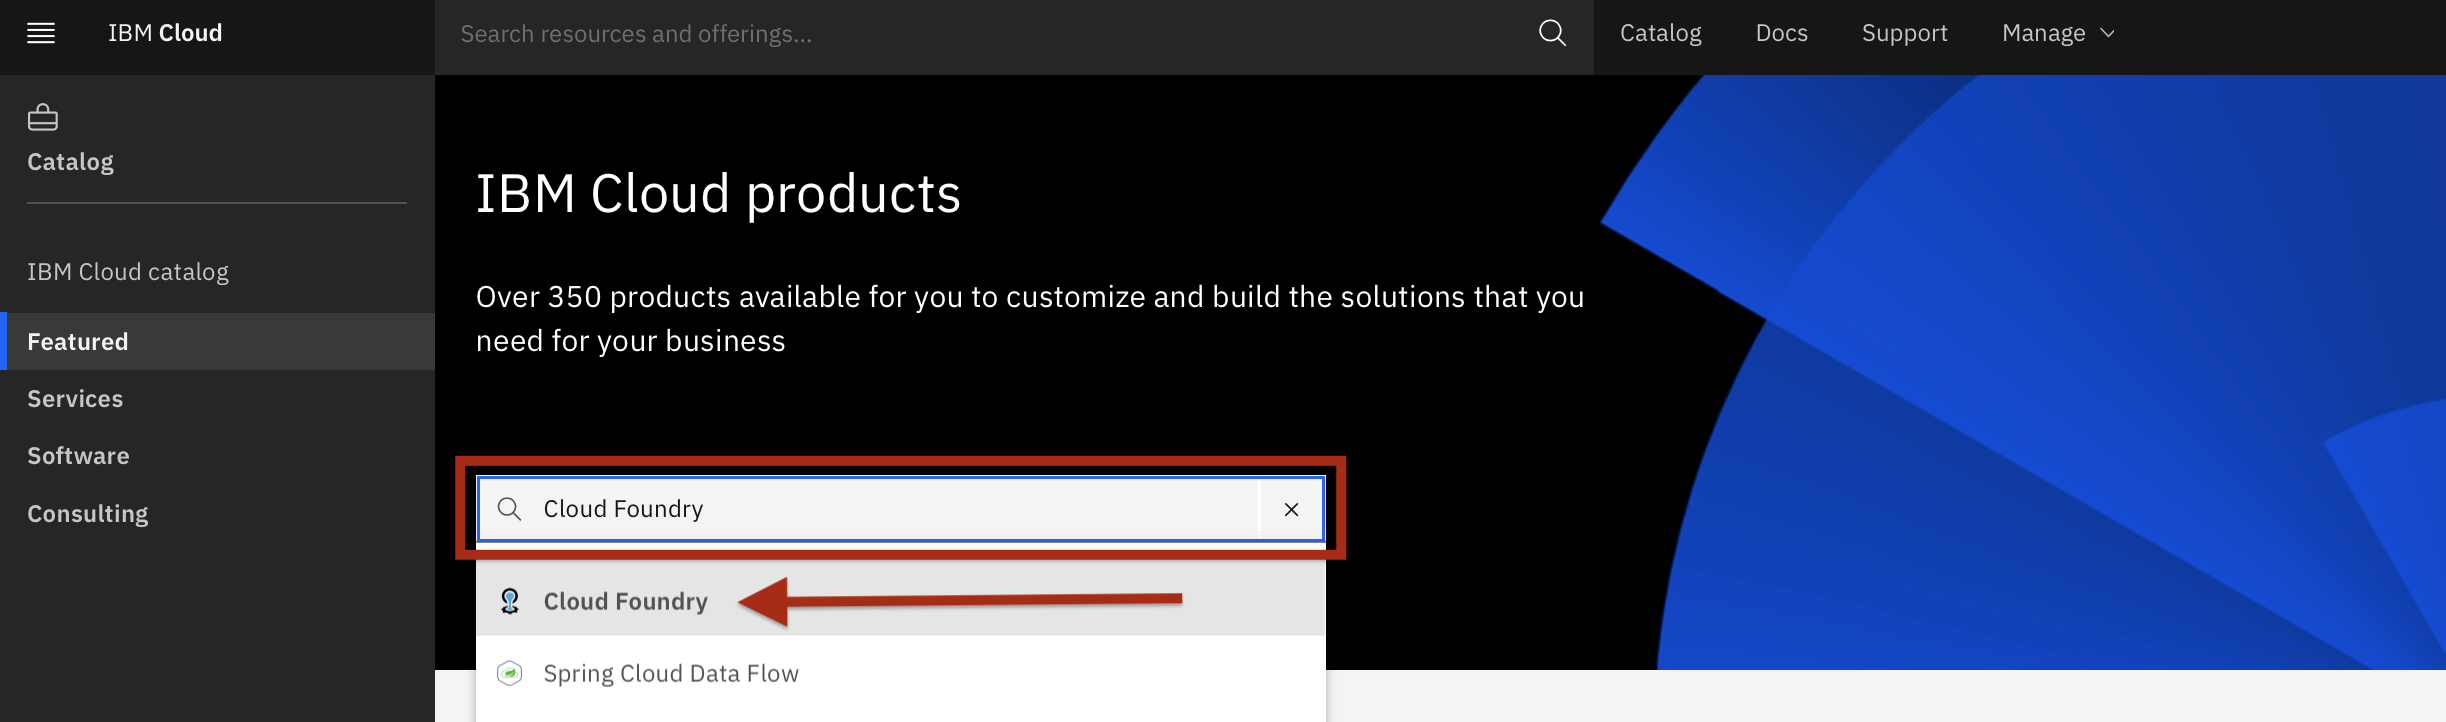
- Click the Catalog tab. Search for Cloud Foundry in the box provided and choose Cloud Foundry.
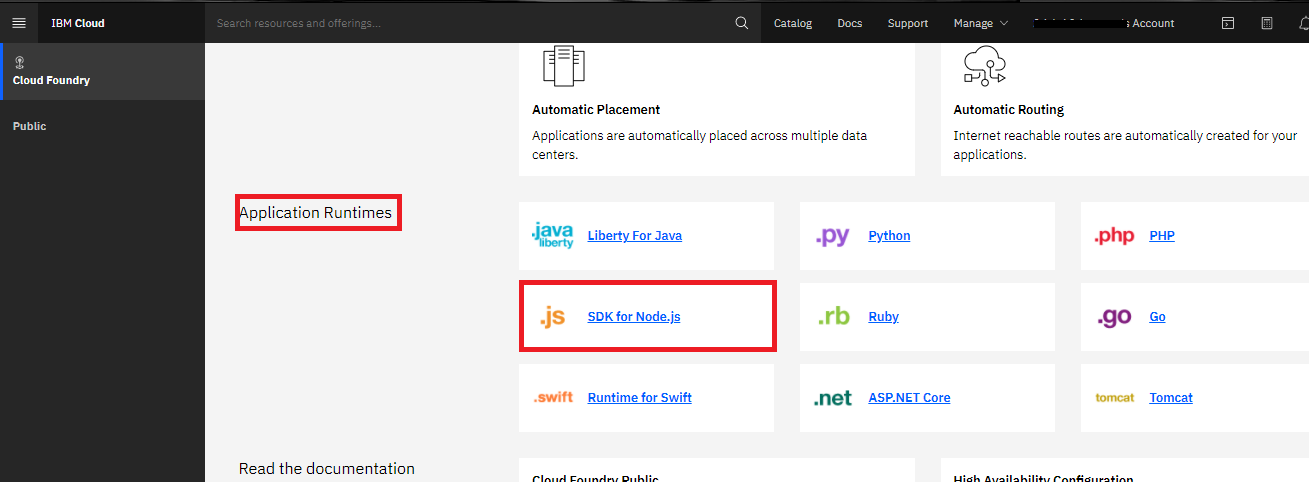
3) In the Cloud Foundry page, scroll down to Application Runtime and choose SDK for Node.js.
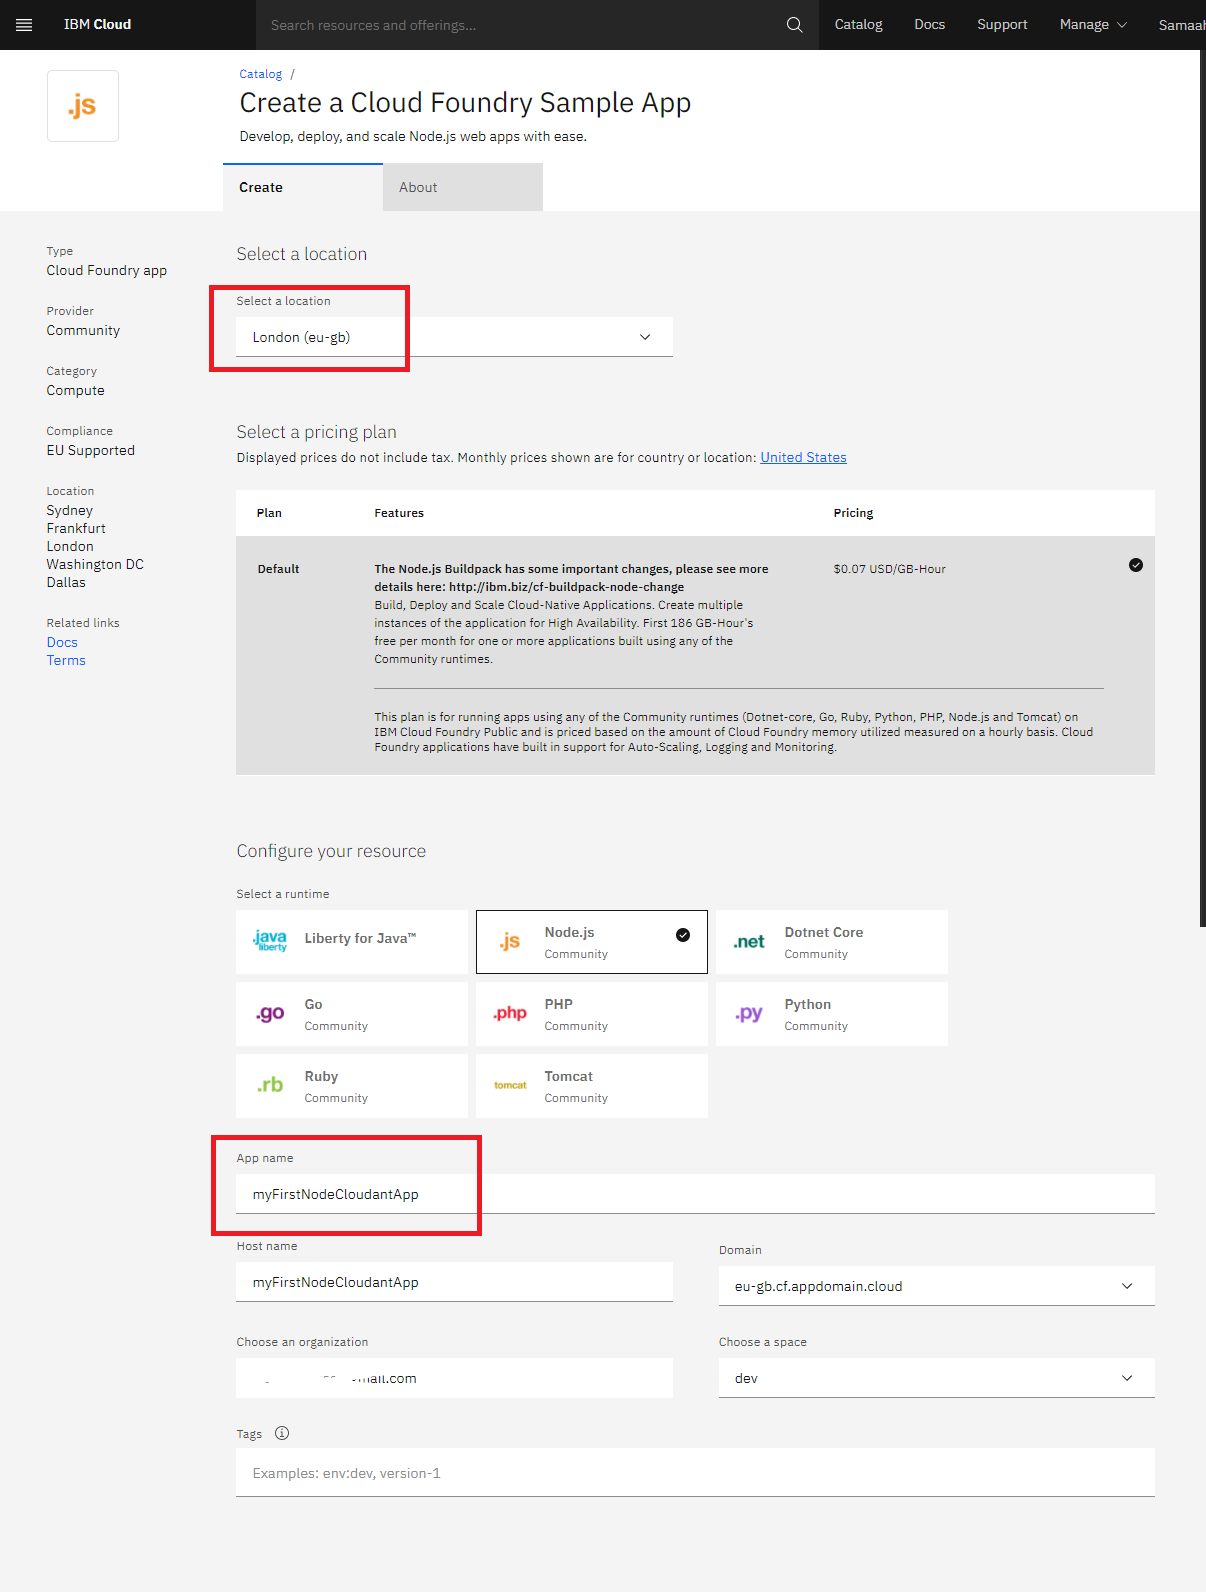
4) Choose your region and enter a unique name for the application. In the image below, the application name is myFirstNodeCloudantApp.
Accept the defaults for the other fields and click Create.
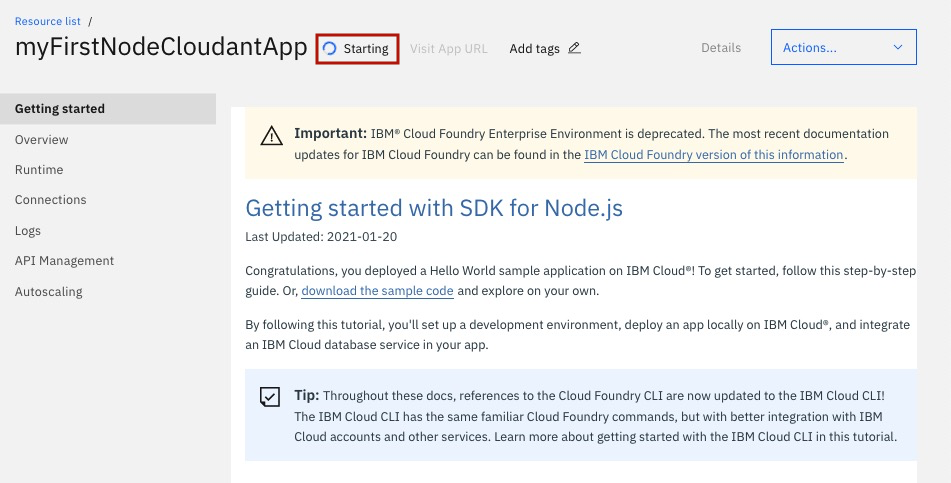
NOTE: Wait until the application finishes staging and is running in IBM Cloud before you proceed to the next step. Look for the indication that your app is running.
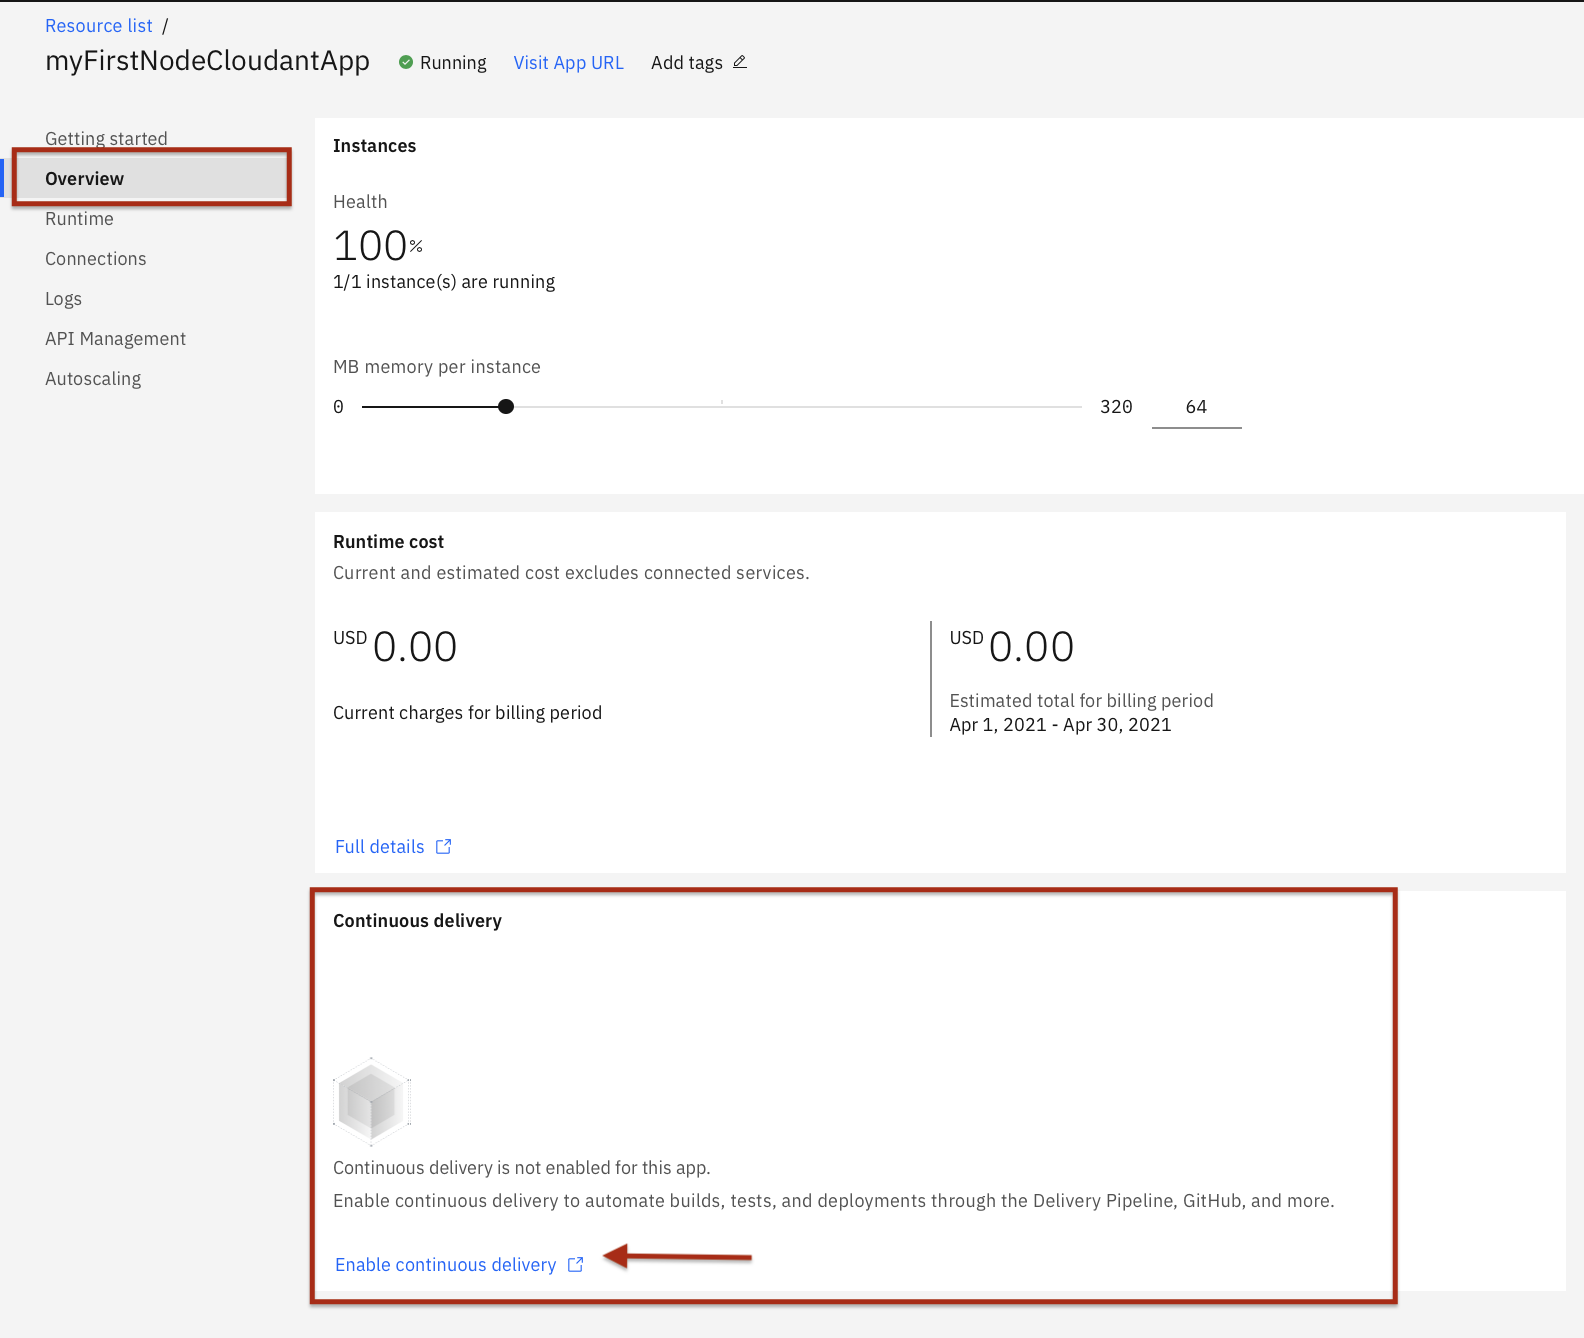
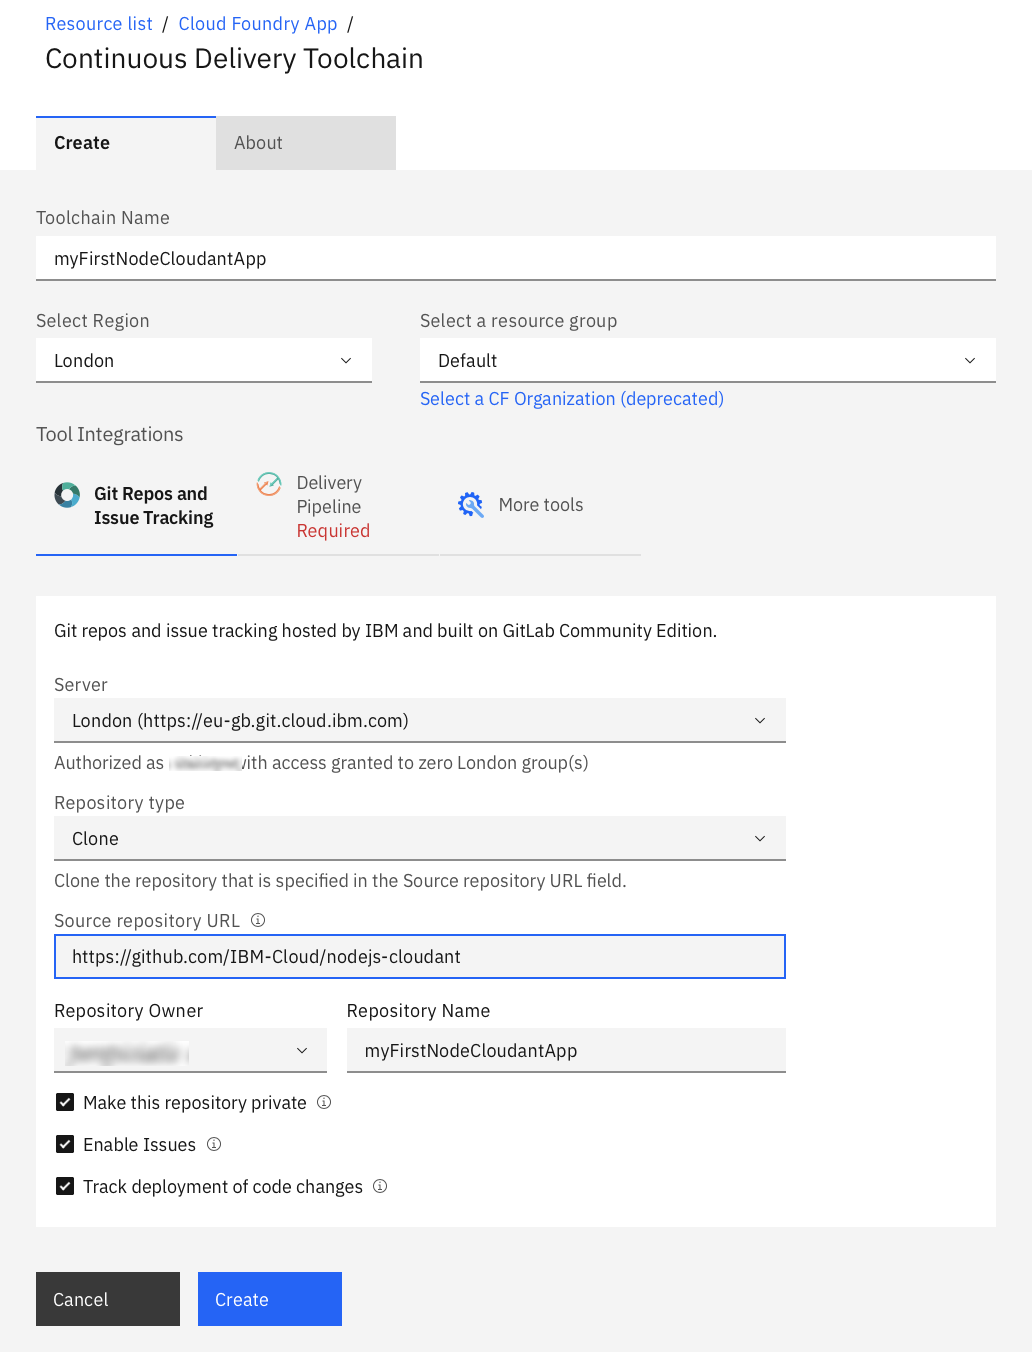
5) Enable the continuous delivery for your Node.js application from the Overview tab, as shown in the following image.
6) In the Continuos Delivery Toolchain configuration window, change the source repository URL to https://github.com/ibm-developer-skills-network/gihrp-nodejs_cloudant.git.
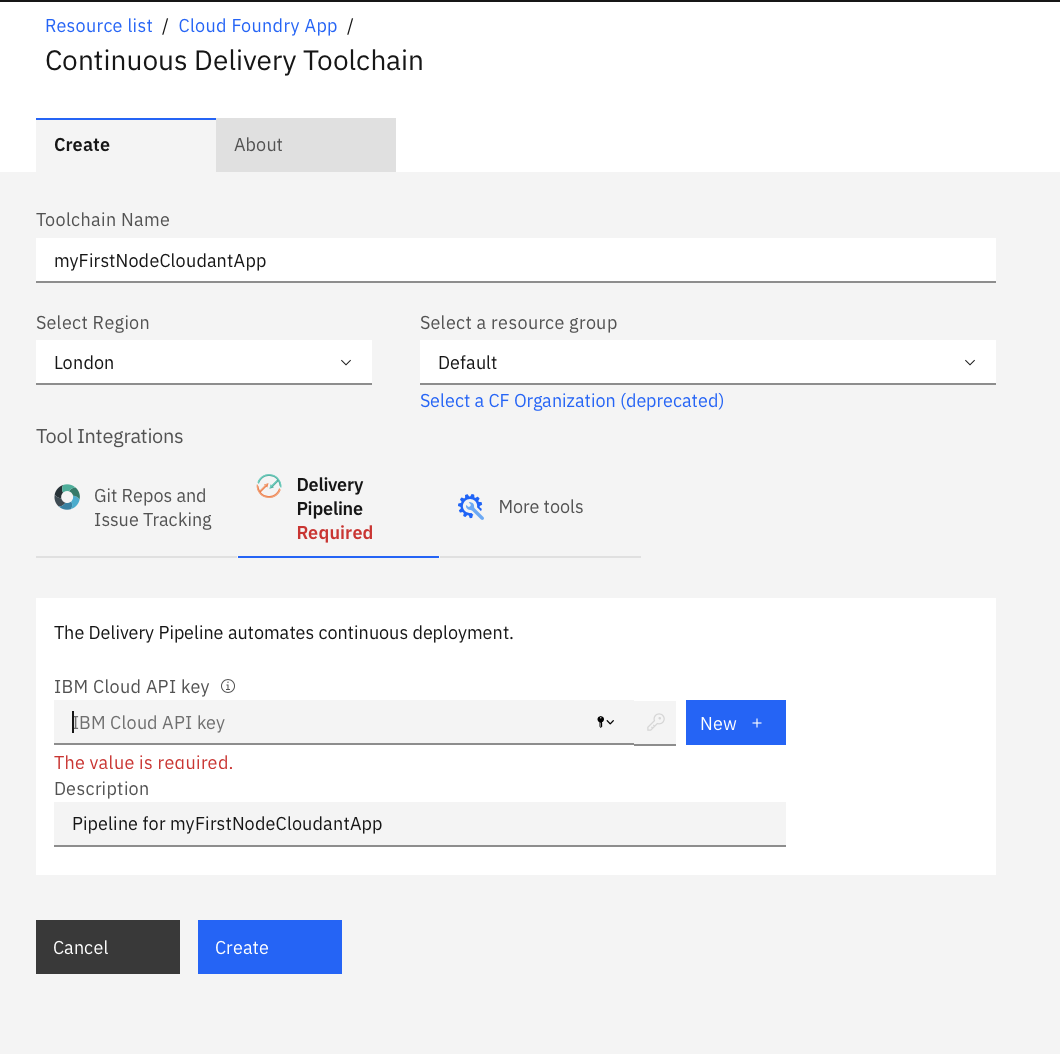
7) In the same window, go to the Delivery Pipeline Required tab.
8) A new window comes up where you can enter the name of the API key and description and click on Ok
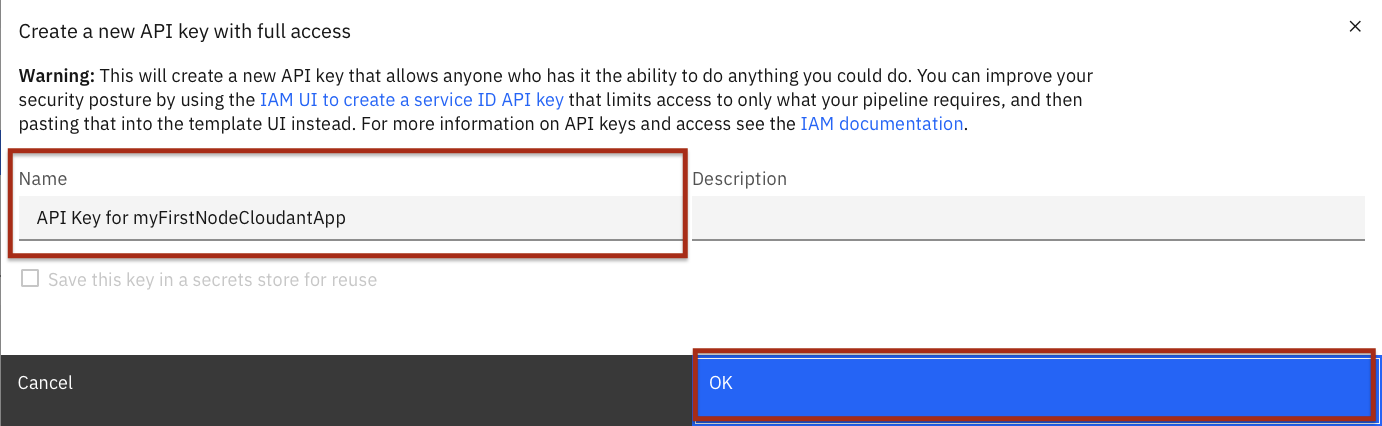
This generates a new IBM Cloud API key
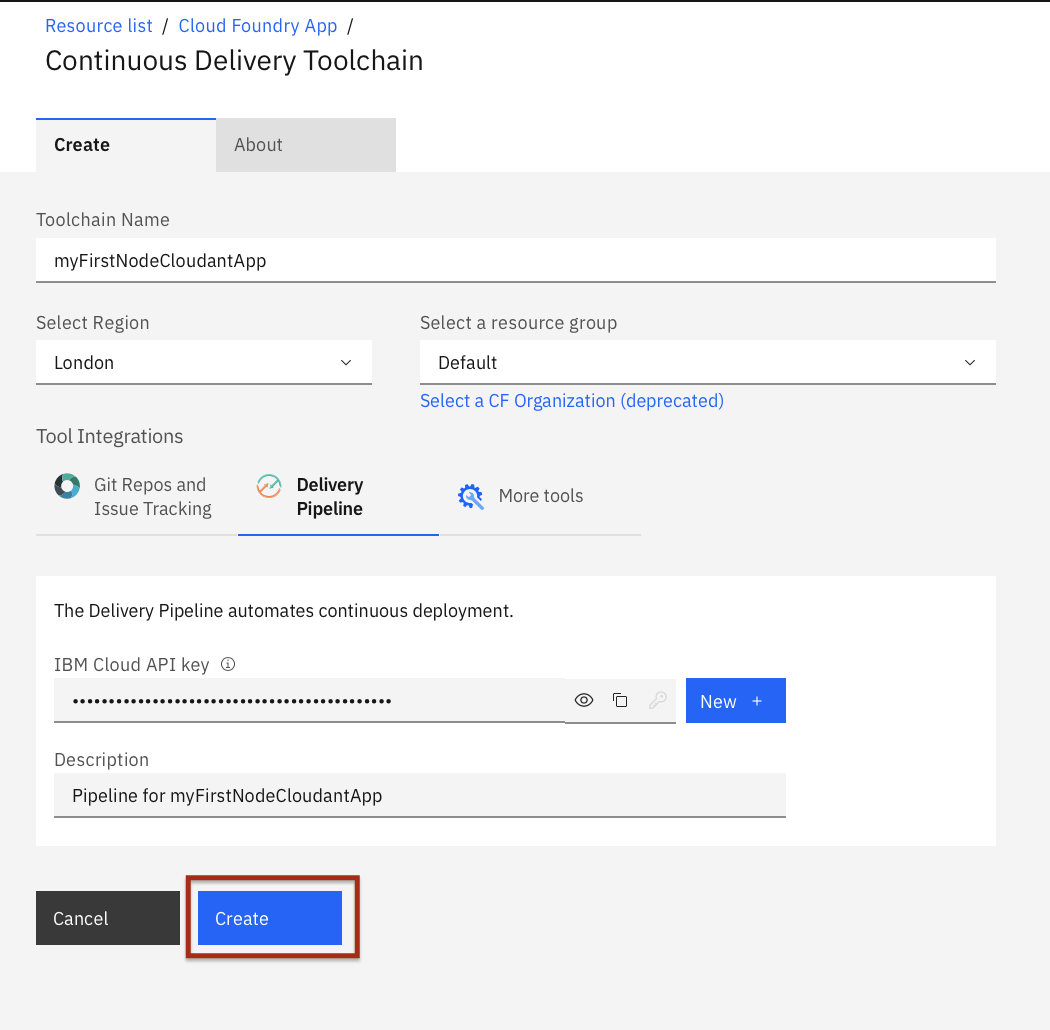
9) Now click on Create for the Tool Chain to be created.
10) A new page opens, showing a set of tool integrations (THINK, CODE, and DELIVER) that support development, deployment, and operations tasks, as shown in the following image.
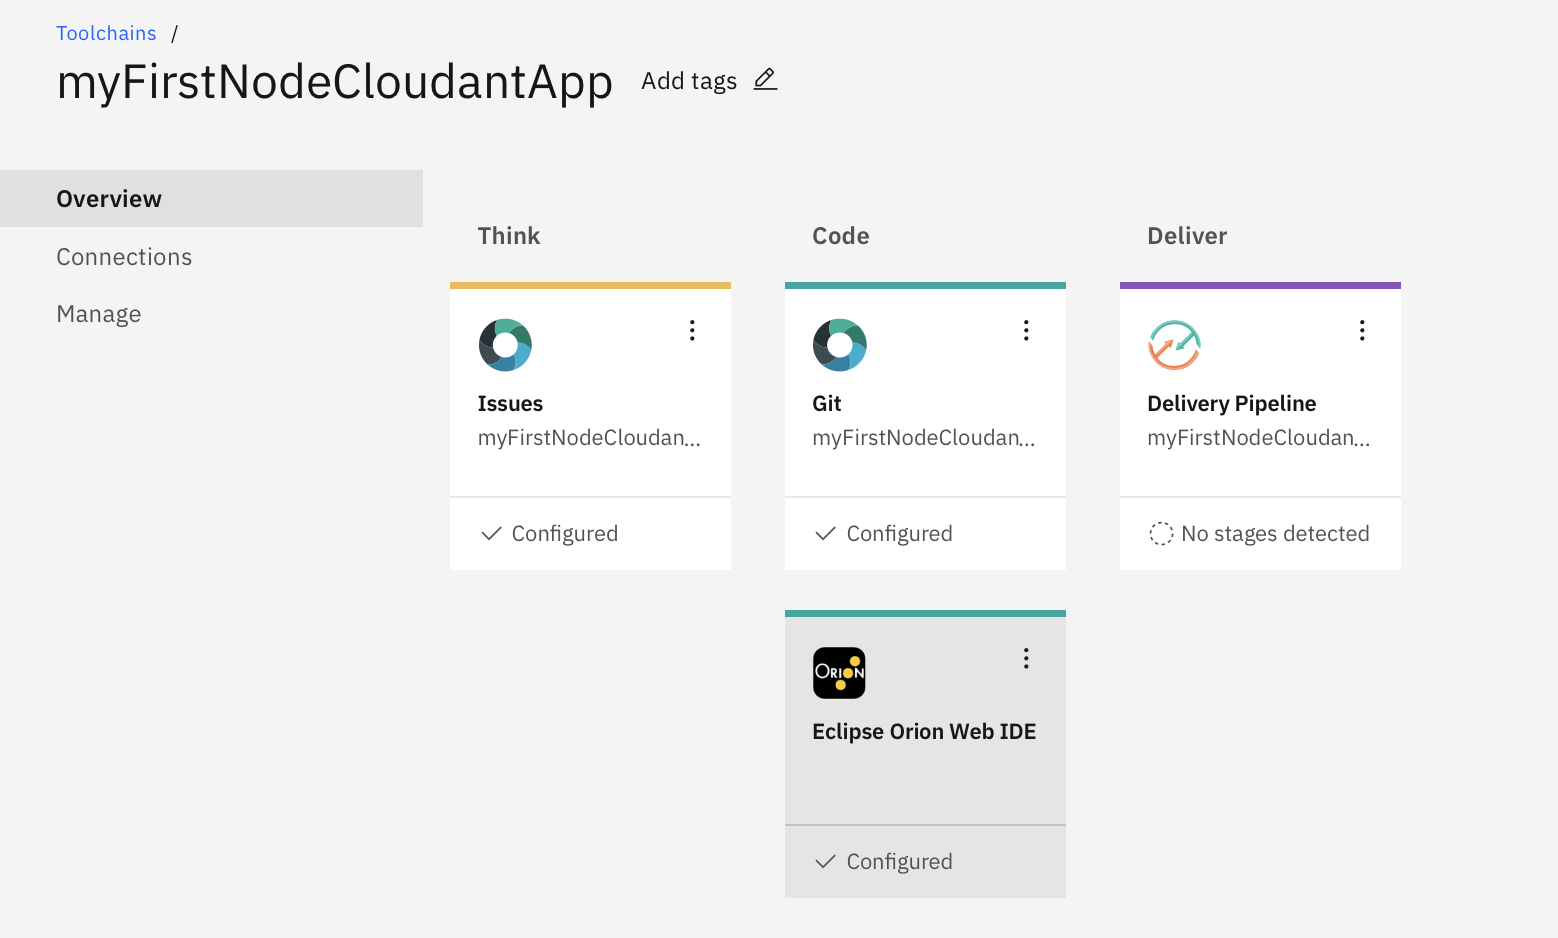
Note: Do not run the deploy stage explicitly under Delivery Pipeline.
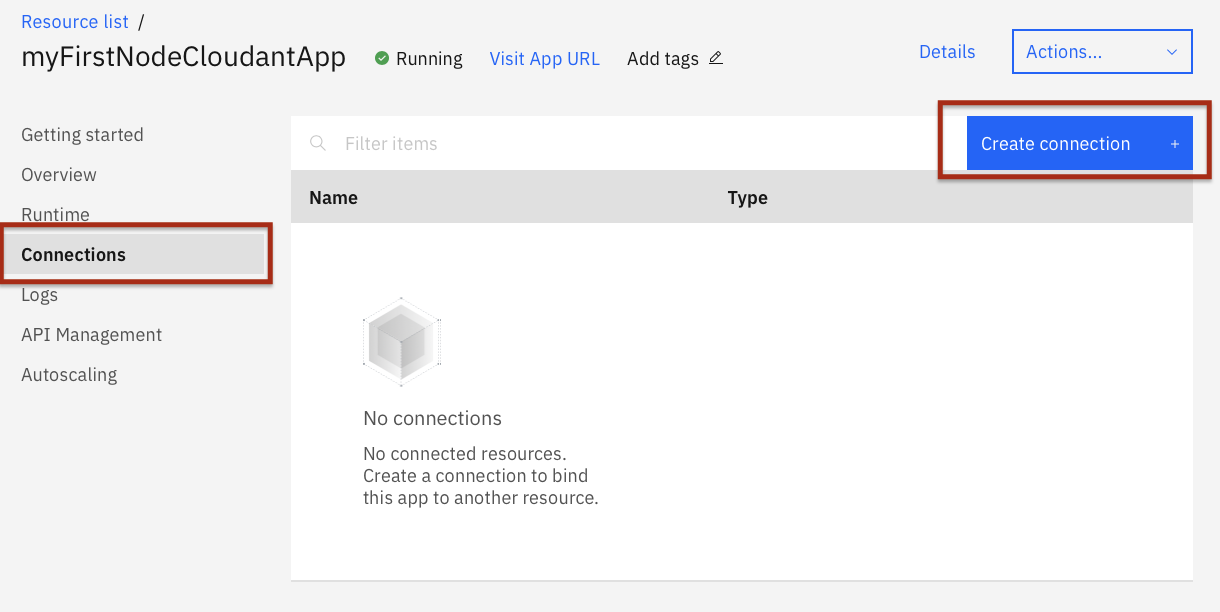
11) Go to the previous tab and click Connections on the left navigation bar, then click Create Connection.
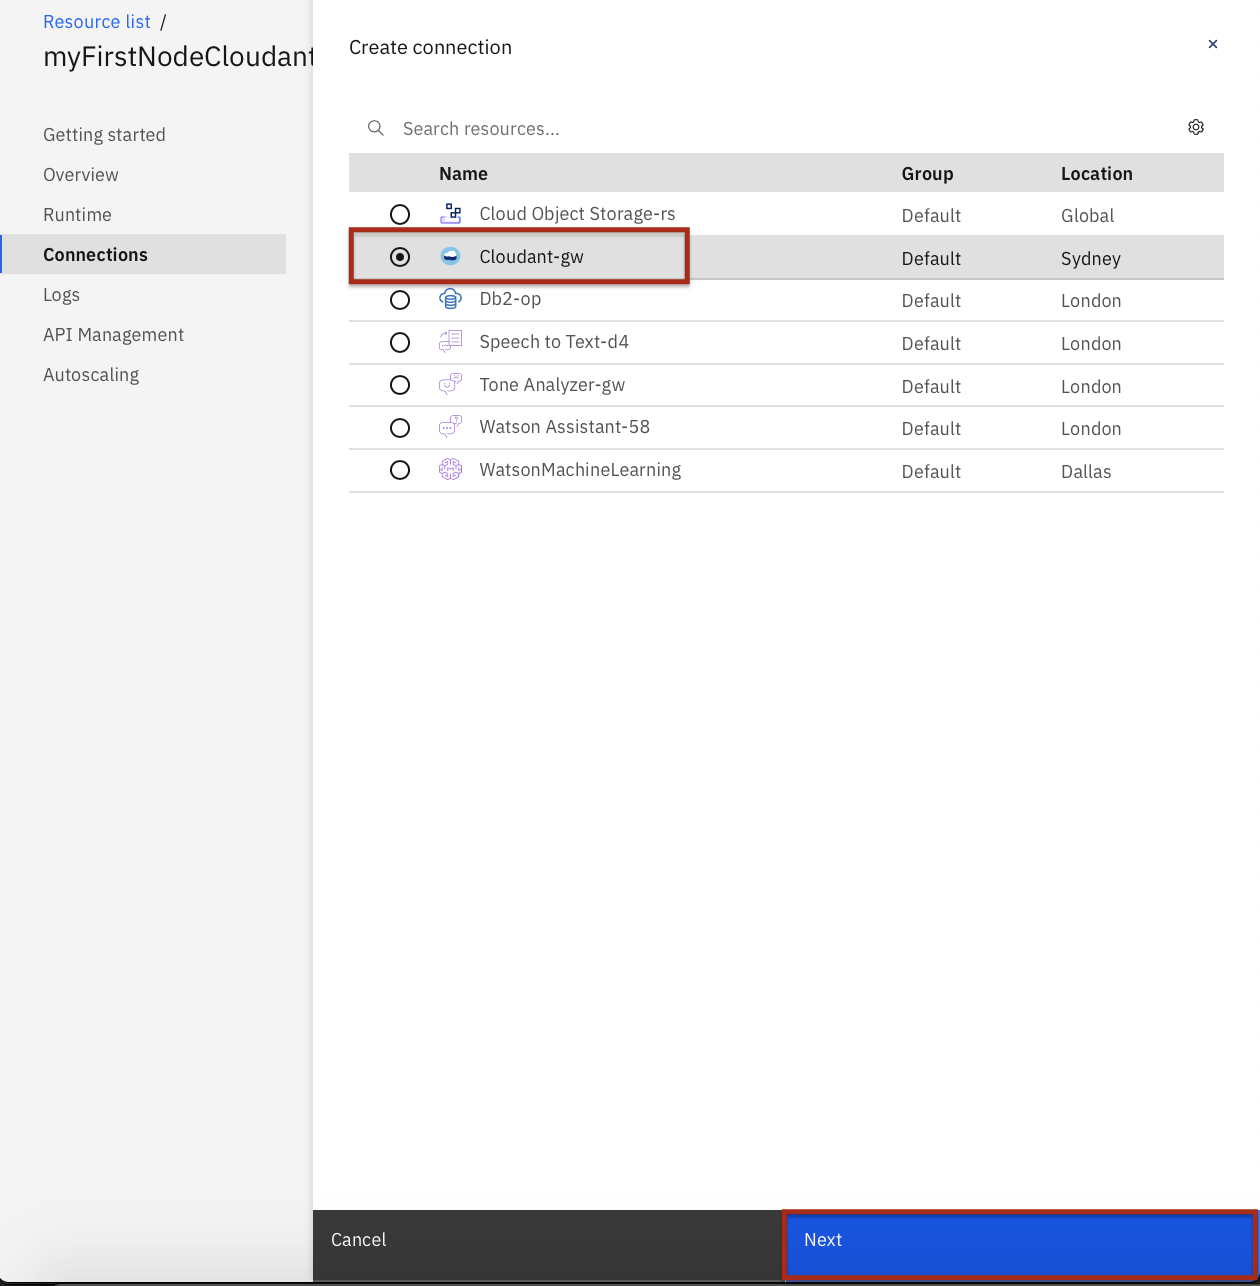
12) From the list of available applications, select the cloudant instance you created earlier and click on Next.
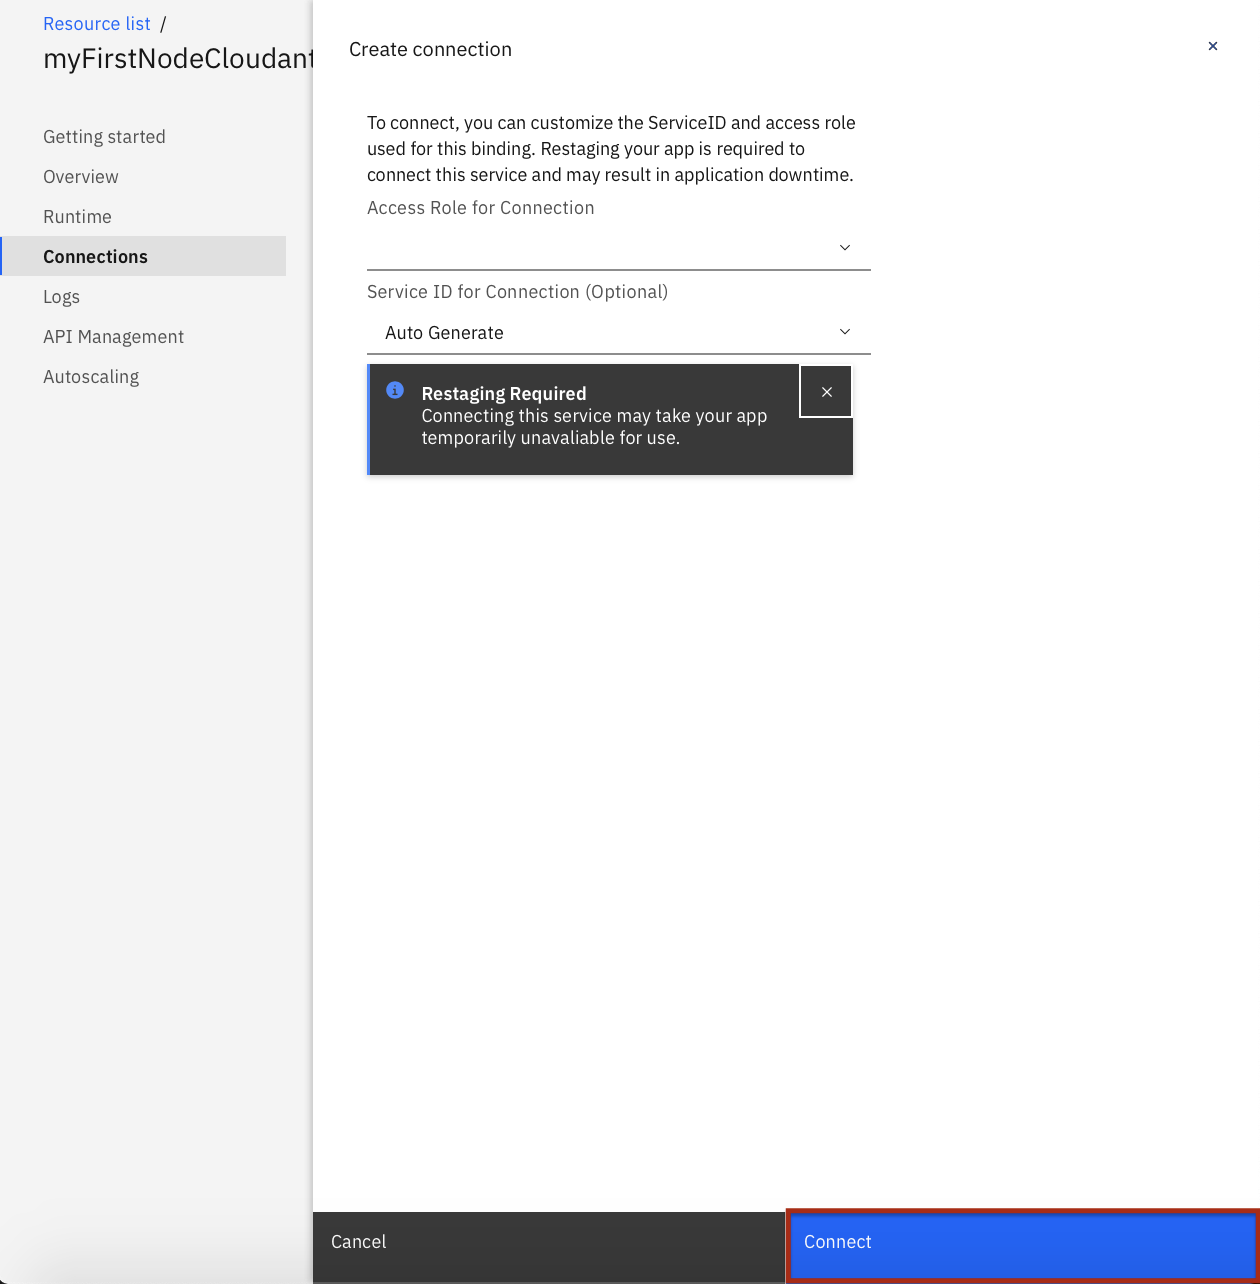
13) A window comes up alerting Restaging Required. Click on Connect .
14) A message prompts you to restage the application so that it can use the Cloudant service. Click Restage.
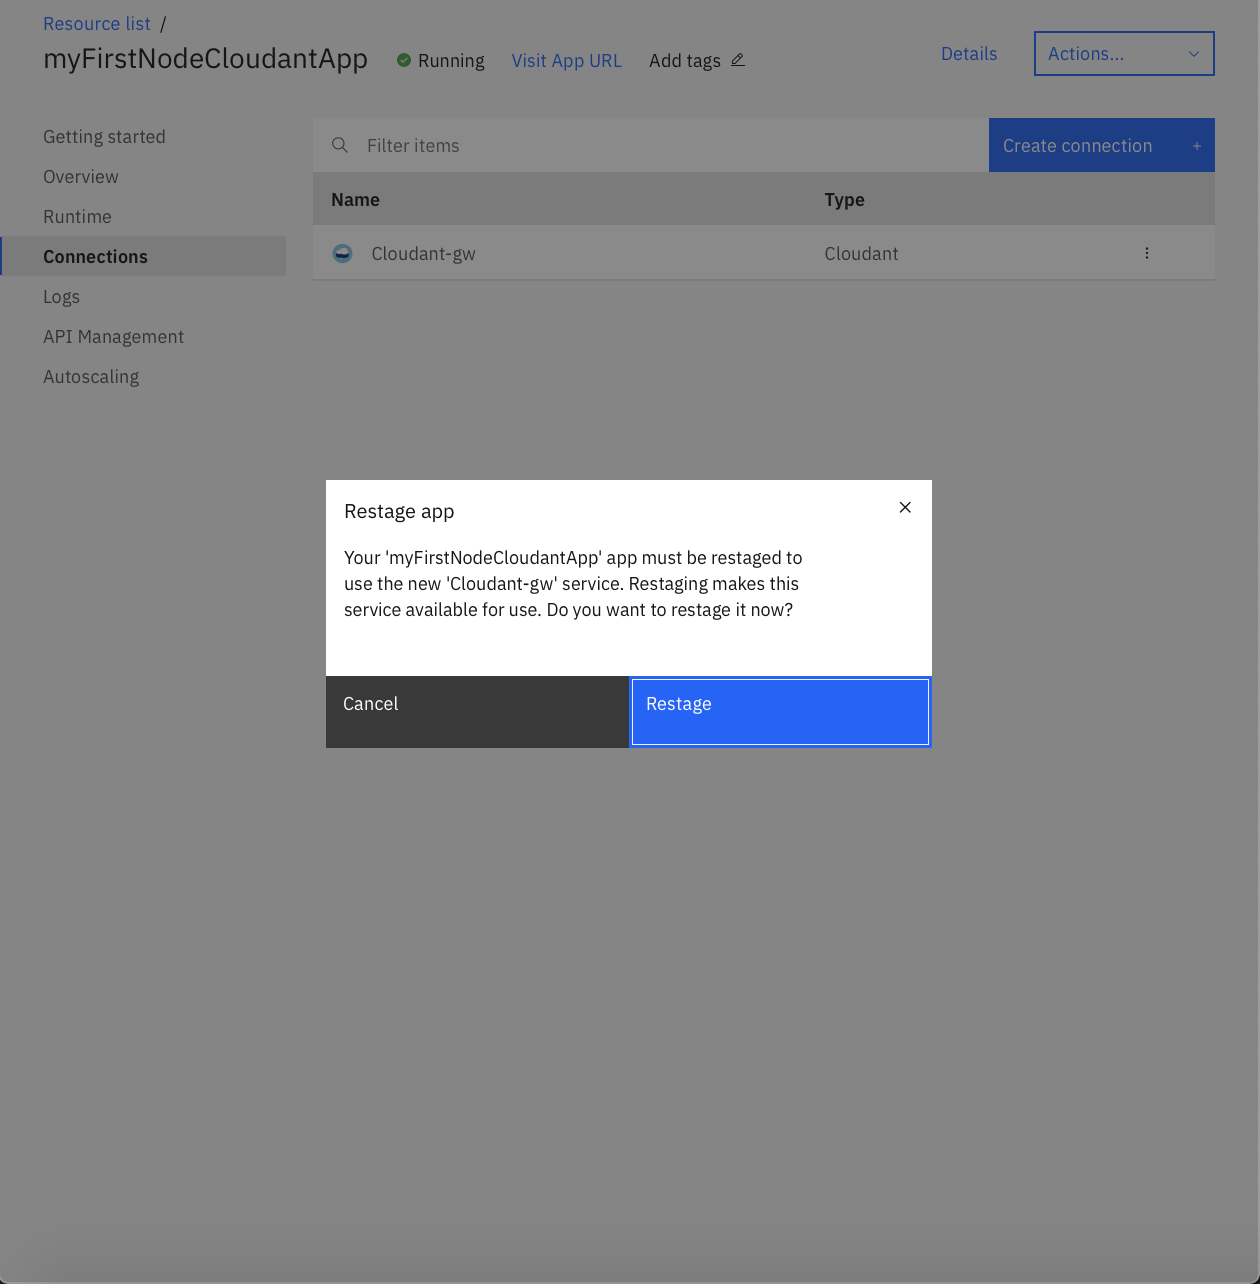
Note: The application restaging will take a couple of minutes. You should see the status next to the application name change from
Restaging to Running.
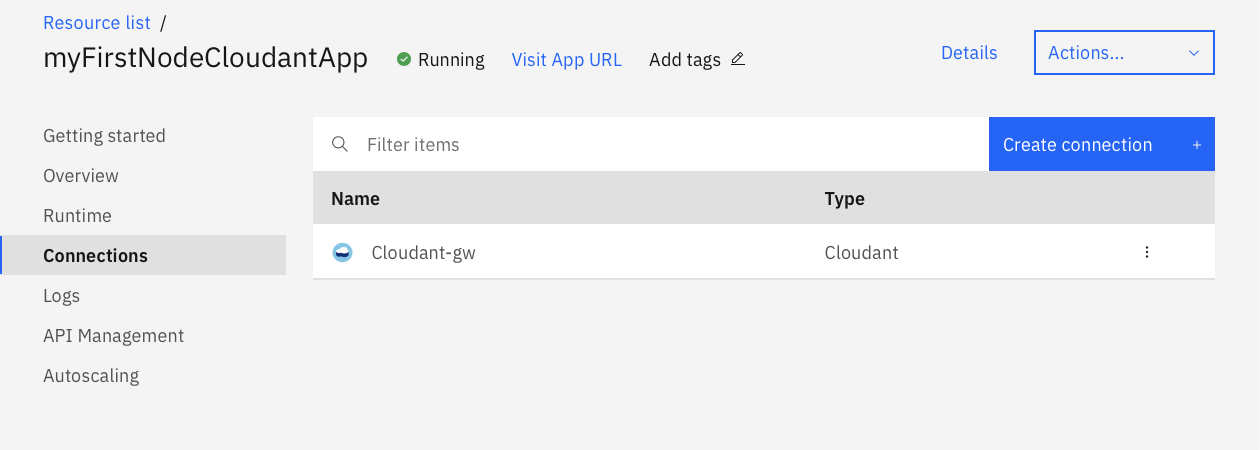
15) You will now see the cloudant service listed as a connection.
Nice article bro.
Very Informative article
Very Nice article
I’m really happy to say it was an interesting post to read.