In this guide, you will learn how to create an account on Blogger step by step and some useful tips to grow your blog.
Table of Contents
How to Create an Account on Blogger
Starting a blog is one of the best ways to share your ideas, earn money online, and build an audience. Blogger by Google is a free and beginner-friendly platform that makes blogging easy.
First of all, don’t use your old Google (Gmail) account for a new blog — it matters. Google already has your search and account history, which can affect your blogging setup, so I recommend creating a new Gmail address that matches your domain. For example, if I’m starting a travel blog I’d use [email protected] — it looks professional and authentic. A fresh account helps keep your blog separate from personal data, reduces spam, and lowers the chance of configuration or security issues tied to an old account. I’ve had plenty of experience with this — create a new Gmail and you’ll thank me later.
Before creating a Blogger account, you should prepare these 3 things:
- Choose your niche (e.g., tech, travel, education, shayari, memes)
- Decide your domain name (e.g., travelboy.com, travelboy.in, travelboy.blogspot.com)
- A little bit of creativity and planning.
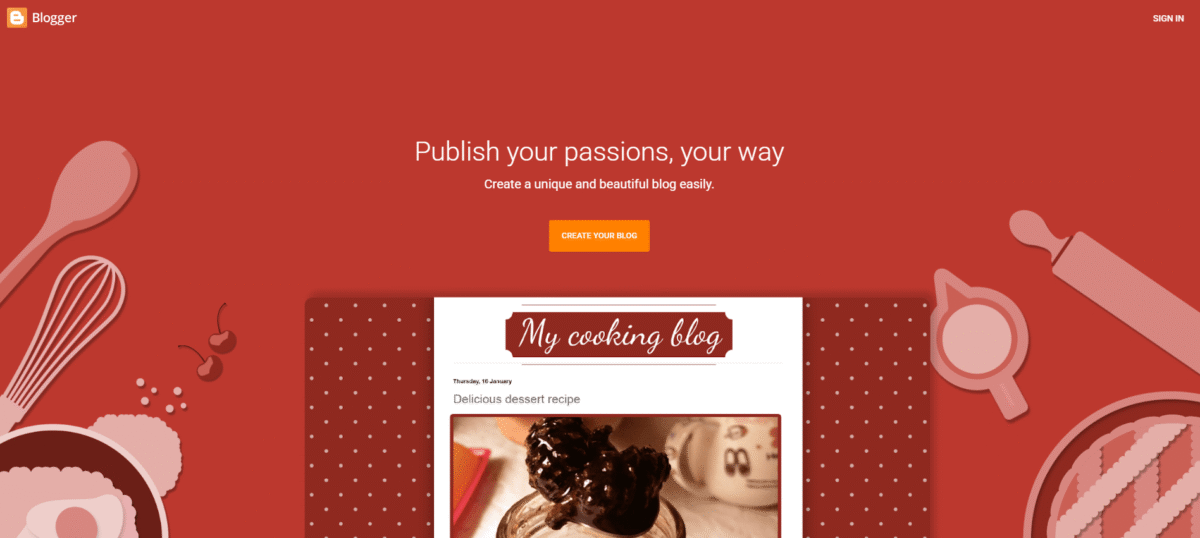
Step 1: Sign in to Blogger
- Go to www.blogger.com.
- Click on Create Your Blog.
- Sign in with your Google account (Gmail).
Step 2: Set Up Your Blog
- Choose a Blog Title (e.g., Healthy Recipes Tips).
- Pick a Blog Address (URL) – make it short, simple, and easy to remember.
- Select a Template/Theme (you can customize later).
Blog Title:
Let’s suppose your blog title is Travel Boy — you can put this as your blog title.
Blog Address (URL):
This part is very important. When you choose your domain name, sometimes the exact name is already taken. Be creative, make small tweaks, and try to keep the domain short, unique, and easy to type. A short domain name is easier to remember, looks professional, and helps people find your blog quickly.
Template Selection:
Select any free template for now. Google provides some basic templates, and you can always customize or change them later to match your style.
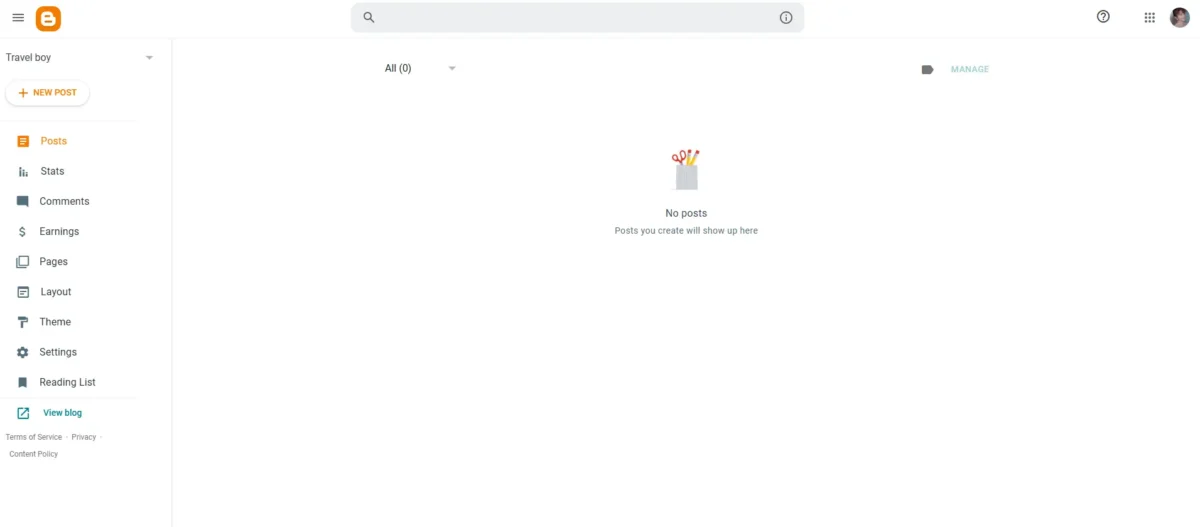
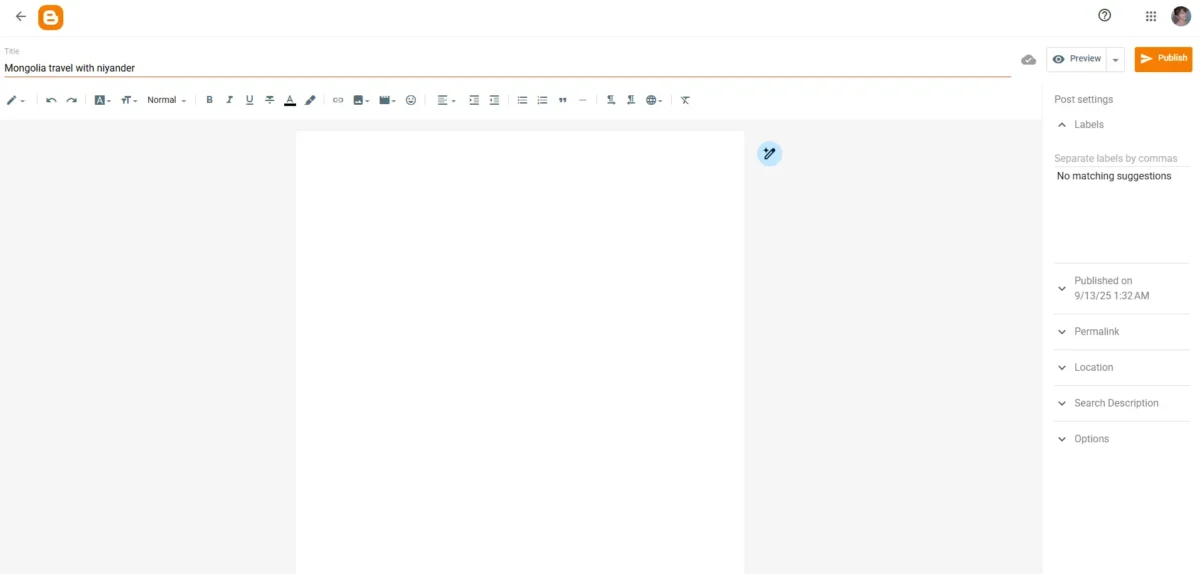
Step 3: Write Your First Post
- From your Blogger dashboard, click New Post.
- Add a catchy title (include keywords for SEO).
- Write your content, add images, and format it with headings (H1, H2, H3).
- Click Publish.
In Blogger, writing a blog post is just like working in MS Word. All the formatting options are available in the top ribbon — use them to style and format your blog post.
Once you publish your first blog post, you will automatically return to the Blogger dashboard. On the left bottom corner, you’ll see the option “View Blog.” Just click it, and your blog will open in a new tab.
You will see how your blog looks — it may look simple and not very professional at first, but don’t worry. We’ll make it look professional soon, so just relax.
Step 4: Add Custom templets
For premium Blogger templates, I personally recommend only two websites.
- Sora Templates : A Collection of Free Responsive Blogger Templates, Blogger/CSS3 Website Templates.
- Templatesyard: Beautiful & Professional Blogger Templates. We specializes in designing clean, elegant and beautiful Blogger templates for both newbies & experts.
Visit these two websites and take your time to explore all the template live demos. Think carefully whether the theme fits your blog or not. You’ll notice they sell templates for $10–$15, but I strongly recommend not buying them. Instead, just download the free version — it’s enough to get started.
Once you download the free version of a template, you’ll find a ZIP file in your PC’s Downloads folder. Extract the ZIP file, and inside the extracted folder, you’ll see an XML template file, usually between 200 KB and 430 KB in size.
- In Blogger, go to the Theme section. Under My Theme, click the drop-down menu and select Restore. A popup will appear, allowing you to upload a theme file from your computer.
- Select the XML file of the custom theme you downloaded, wait a few seconds, and your theme will be successfully uploaded.
- Now, click on View Blog — you’ll see that your blog’s appearance has completely changed.
Remember: The blog’s UI has changed, but it’s not fully set up yet. You still need to update menus, add social links, organize categories, and create pages.
- your blog ui was change but your blog write now not a complete setup
- you have to change menus and social links and categories add pages
How to Add Pages in Blogger
Go to the Pages section in your Blogger dashboard and create these 5 important pages:
- About – Introduce yourself and your blog.
- Contact – Provide a way for readers to reach you.
- Privacy Policy – Explain how you handle user data.
- Disclaimer – Mention any legal or informational disclaimers.
- Terms and Conditions – Outline rules for using your blog.
once you create all pages , hover on each page you will see a eye icon which can say view just click it it will open same page in new tab just copy all pages urls it is needed
Go to Layout
- In the left-hand menu of your Blogger dashboard, click Layout.
- Look for the section labeled Main Menu, Menu-bar, or Navbar.
- Click Edit. You’ll see some pre-made links that you can delete.
- Scroll down a little and click Add a New Item. You’ll need to provide two things:
- Name: For example, About Us
- Link: Paste the hyperlink of the corresponding page (e.g., your About page) Save it.
- Repeat this process to add all important pages to your menu.
- After adding pages, click Save arrangement in the Layout section.
How to Add Categories in Blogger
In Blogger, there isn’t a built-in “categories” feature like in WordPress. Instead, you organize posts using Labels. Labels act like categories, and you can display them in your blog menu. Here’s a step-by-step guide:
Step 1: Add Labels to Posts
- Go to Posts in your Blogger dashboard.
- Click New Post or edit an existing post.
- On the right-hand side, find Labels.
- Enter a label name (e.g., Travel, Food, Technology) and press Enter.
- Publish or update the post.
Repeat for all posts, using appropriate labels as “categories.”
Step 2: Add Labels to the Menu
- Go to Layout in your Blogger dashboard.
- Look for the section where you want the menu (usually Header or Top Menu, Main Menu).
- Click Add a Gadget → choose Pages or Link List.
- For Link List, add the label URLs manually:
- Go to Posts → Label → click a label.
- Copy the URL from the address bar.
- In the gadget, add the label name as the Title and the URL as the Link.
- Save the gadget and then Save Layout.
Step 3: View Your Blog
Click View Blog, and you’ll see your labels (categories) in the menu.
Clicking a label shows all posts under that “category.”
Read Must: Important Message
Be patient! Don’t think the Blogger setup process ends here — this is just the beginning. Now, I’m going to share some secrets about Blogger with you.
So, you’ve created your blog. Don’t expect it to be indexed by Google within 2 days or even 1 week. Google takes time to index your blog, so for now, rely on sharing your blog posts with friends on social media to get some traffic.
Why doesn’t Google index your website easily?
- First, Google doesn’t know who you are.
- Second, Google needs to trust your site before ranking it.
You might be wondering, “How can I get my website indexed faster on Google? I need traffic!”
I understand your concerns, but I can’t explain everything in just one blog post — this is an ongoing process.
Here’s the journey we’re following:
- First, we learned how to create a blog.
- Then, we posted our first blog article.
- Next, we added a custom theme.
- After that, we added menus.
- Finally, we created categories.
Our next step is to do SEO for our Blogger site. We will also add our website to Google Search Console and submit a sitemap for our blog.
also read: Blogger Explained: What They Do and Why It Matters
Just wait a few days — I’ll be back with lots of useful information for you. Stay happy, and see you in the next post!